TL;DR
We bullet climbed Mount Fuji (富士山) via the Yoshida trail to see the sunrise. Hiking Fujisan is a difficult hike, but one we highly recommend if you’re well prepared. Are there any hikes in Japan that you’re curious about? Let us know below and maybe we’ll hike it or message us to come join us!
Disclosure: This post contains affiliate links. If you click through and make a purchase, we earn a small commission, at no additional cost to you. Click here for our full disclosure!
富士山に一度も登らぬバカ、二度登るバカ
A fool never even climbs it once, a fool climbs it twice.
We hiked Mount Fuji and so can you!
Sara and I bullet climbed (弾丸登山 aka “dangan tozan”) Fujisan via the Yoshida trail to see the sunrise at the summit. We made it with over an hour to spare! When hiking Fujisan, we chose the Yoshida trail because it’s ideal for beginners and easily accessible from Tokyo.
If you take away one thing from this blog, it should be this: We don’t suggest anyone bullet climb, but we would highly recommend hiking Fujisan with the caveat that you’re well prepared. How do you get prepared? Keep on reading!
*Know that we’re not avid hikers, but we have been known to walk long distances and occasionally climb a mountain or two.
What’s a bullet climb?
A bullet climb is summiting a mountain without resting overnight. Instead of climbing over 2 days and resting at a mountain hut, you leave the Fuji-Subaru Line 5th Station at night in order to summit to see the sunrise. While you’ll save time and money, it’s much more difficult than spreading the hike out over 2 days. Many Japanese sites will deter you from this climb because unprepared bullet climbers account for many of the reported injuries on Fujisan.
Don’t be those hikers.
With that said, the bullet climb wasn’t nearly as difficult as we imagined because of our preparation. There were a lot of miserable looking hikers that weren’t prepared for the overnight climb. And while it’s fine to be miserable alone, without the right gear or preparation, you’re also endangering a lot of other people on the mountain.
Why bullet climb?
Our main goal hiking Fujisan was to see the sunrise from the summit, so we had two options:
- Bullet climb (弾丸登山 aka “dangan tozan”)
- Spread the hike over two days and sleep at a mountain hut above the 8th station
We initially planned to hike over two days, but on the day we planned to go, all the mountain huts above the 8th station were booked, and the morning buses from Shinjuku were sold out.
During the course of our research, we had spoken to enough people that had done the climb that mentioned that there wasn’t a lot of sleep to be had in the mountain huts.
Thus, our plan was to go as high as we could, and if we were tired, we would find a mountain hut that would allow us to rest and stay there for a few hours if necessary. If you need a listing of all the mountain huts on the Yoshida trail with a link to their website, Gary J Wolff’s site has a list of them here.
Overall recommendation
We recommend hiking Fujisan with the following caveats: you’re in decent physical condition and you’re well prepared for the 10+ hours you’re on the mountain.
From Pineapples Difficulty Ranking: 🍍🍍🍍🍍🍍- 5 out of 5 Pineapples!
*If you’re wondering what our difficulty is based on, read about our ranking system.
There are a lot of blogs that rate this as a difficult hike, and we agree – with the caveat that if you’re doing a bullet climb, we would definitely recommend the following:
- Buy the appropriate gear (see what we brought below)
- Check the weather (here, here, and for a live feed, check out the Goraiko-kan’s live camera at 8.5)
- Keep hydrated
If you’re not in good shape, we wouldn’t recommend the bullet climb, but instead, stay overnight in a mountain hut!
Hiking Fujisan
Overview
Fujisan (富士山), also known as Mount Fuji, is a 3,776 m. mountain that straddles the boundaries of Shizuoka and Yamanashi Prefectures, about 100 km southwest of Tokyo. As one of Japan’s “Three Holy Mountains”, along with Tateyama and Hakusan, it’s the highest volcano in Japan and 2nd highest volcano in Asia after Mount Kerinci in Sumatra.
There are four trails that lead to the summit of Fujisan: Yoshida (yellow), Subashiri (red), Gotemba (green), and Fujinomiya (blue). While each trail is split into 10 different stations, you’ll typically start from the fifth station.
Since the trail’s open/close do change by the season, it’s best to confirm with the official website if the trail you want to climb is open.
Mount Fuji trails
| Yoshida | Subashiri | Gotemba | Fujinomiya | |
| Experience | Beginner | Advanced | Pro-mode | Beginner |
| Ascent | 6h | 6h | 7h | 5h |
| Descent | 4h | 3h | 3h | 3h |
| Location | Yamanashi | Shizuoka | Shizuoka | Shizuoka |
| Elevation Diff. | 1400 m. | 1700 m. | 2250 m. | 1300 m. |
| Notes | Most popular | Merges with Yoshida @8th | Most difficult | Shortest, but steep |
Our total time (transit + acclimating + trail): ~21 hours
Transit time (bus): 2.5 hours
Acclimating at the 5th station: 2.5 hours
Trail time: 7 hrs 40 min ascending, 2 hrs 20 min at the summit, 5 hrs 30 min descending
Yes, you read that right – we were on the mountain for almost 16 hours.
Yoshida trail details
Directions to the Yoshida trailhead
- Starting point: Shinjuku Expressway Bus Terminal
- Ending point: Fuji-Subaru Line 5th station
- Estimated time from Shinjuku to Fuji-Subaru Line 5th station: 2.5 hours
- Price: See below as we detail out exactly what we spent
If you’re coming from central Tokyo during the climbing season, it’ll take about 2 and 1/2 hours on a bus from Shinjuku to get to the Fuji-Subaru Line 5th station where you can reach the start of the Yoshida trail. There’s so many ways to get there depending where you want to leave from in central, so I won’t list them all – use your favorite transit app to figure out what’s appropriate for your timing. Just know that there are many, many ways to get to Fuji-Subaru Line 5th station, regardless of what internet blogs seem to imply. In general, the highway bus will be the fastest and most comfortable – trust me when I say they’re nothing like buses in the states.
Our Yoshida trail plan
Since it’s suggested that you give your body at least an hour or two to acclimate to the higher altitude, we decided to leave Shinjuku at 2:35 pm. Our plan was to arrive at Fuji-Subaru Line 5th station around 5:20 pm, eat dinner, and start the hike around 8:00 pm*.
*If you’re wondering how we arrived at the estimate of 8:00 pm, we figured these hiking sites typically give estimates for legitimate hikers, and since we’re weekend hikers, we just increased that time by 50%. This meant that the 6 hour ascension estimate given by hiking blogs became 9 hours. This obviously isn’t an exact science, but since there weren’t any good timing sites out there, we just looked at yamaps, etc to just get a feel of the route. We also prepared well, so we figured that if we had to sit on top of the summit for a few hours, we’d be fine.
Fuji-Subaru Line 5th Station
Here’s a link to the 5th station guide map from the Subaru Line website.
Here’s what we did at the station while acclimating to the higher altitude:
- We left our bags in a locker at Fujikyu Unjokaku and purchased our hiking sticks here. There’s a variety of lockers here at different price points – just note that once it’s opened, you have to pay again.
- Ate our pre-hike meal at Fujisan Miharashi.
- Toilets listed on the map above are free to use. All others you’ll have to pay for.
*If you are around during the day, make sure to check out the observation point at Komitake Shrine to see unobstructed views of Fujiyoshida City and Lake Yamanaka.
Yoshida trail stats
The Yoshida trail is the easiest of all the Fujisan trails because of the elevation difference and accessibility of luxuries typically not found on hiking trails such as toilets, the ability to purchase both food and water, and abundance of mountain huts to rest.
It consists of the following (elevation in parentheses):
- Fuji-Subaru Line 5th station (~2300 m)
- 6th station (~2325 m)
- 7th station (~2720 m)
- 8th station (~3100 m)
- Original 8th station (~3400 m)
- 8.5 station (~3450 m)
- 9th station (~3600 m)
- Summit (~3740 m)
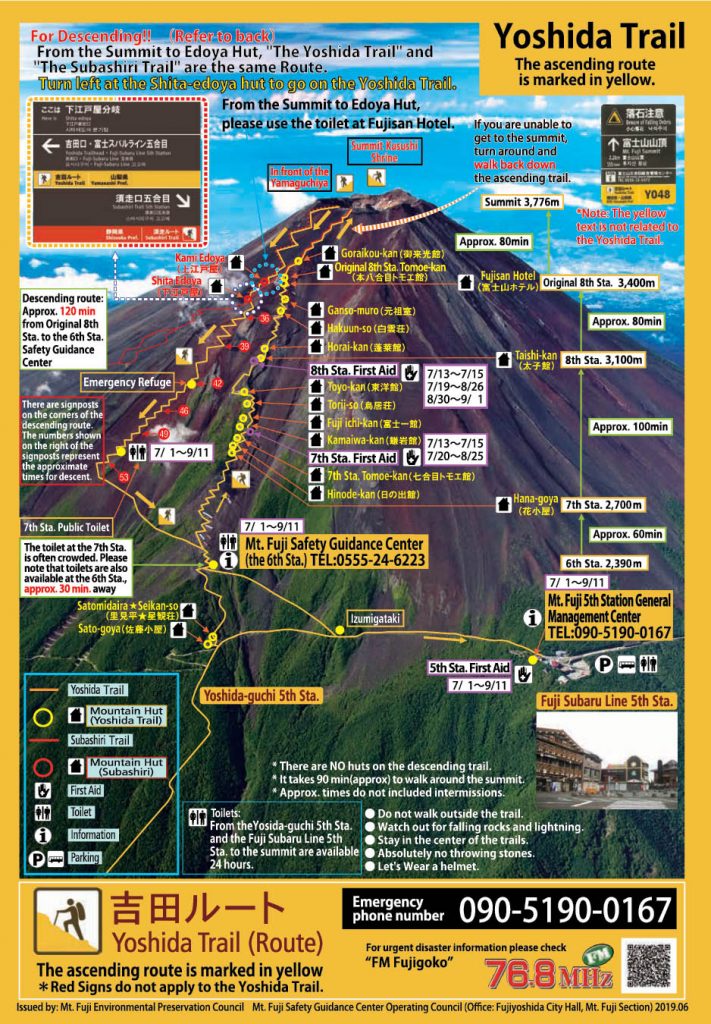
Here’s a link to a 2019 Yoshida trail map in English from the official Fuji website. Be sure to check this map out as it contains estimated times between each station.
Timing
Since we were bullet climbing to see the sunrise, most of our questions prior to the climb were around timing. While a lot of internet sites claim that it takes about 4-6 hours to summit, they often lack the context* surrounding the claim because your fitness, the weather, season, and day of the week will drastically impact said estimate.
From what we researched, you don’t want to arrive at the summit too close to sunrise because everyone else making the climb will be stuck in the funnel between the 9th station and the summit. Too early and you’ll be trapped in near freezing temperatures for a prolonged period of time. Historical average temperatures atop the summit generally hover around 43.6°F (6.4°C) in August. However, we packed for the cold temperatures, so we weren’t worried about getting there too early, we were worried about getting there too late.
As a result of finding very little timing information online, one of our goals of this climb was to get detailed times so that other climbers can get a general idea of the timing on the Yoshida trail. Sara had the brilliant idea of just snapping pictures as we arrived and left stations along with important signage found on the trail. The times listed below are for the ascension up the mountain since we were less concerned with the climb down.
*Here’s the context surrounding our climb:
- We walk a lot, but we don’t go to the gym.
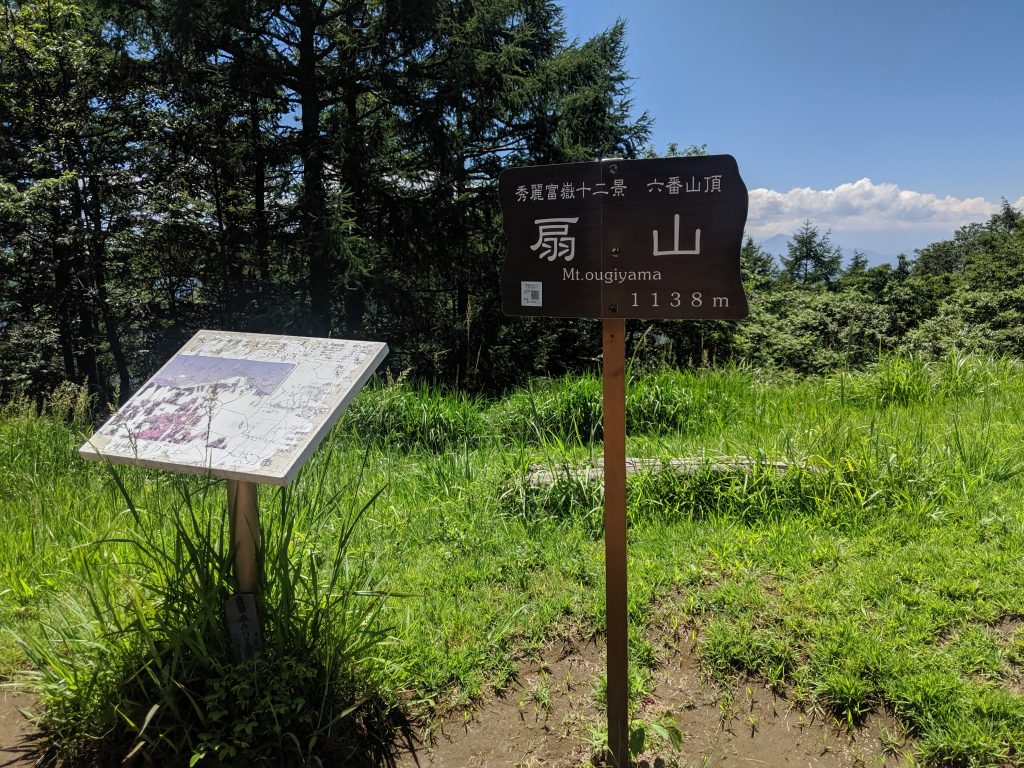
- Only did two practice hikes to Ougiyama prior to Fujisan.
- Started the climb on September 3rd @ ~8:00 PM JST, a Tuesday evening.
- Purposely chose the end of the season because we wanted it to be cooler for our climb down and wanted to avoid Obon – the busiest time of the climbing season.
- There was lightning / thunder / rain for approximately 30 minutes, but the majority of the evening was clear skies.
Detailed times ascending
| Time | Minutes | Location |
| 8:00pm | Left the Fuji-Subaru Line 5th Station station | |
| 8:32pm | 32 | Arrived at the 6th station Gave ¥1,000 donation to Fuji Conservatory Picked up helmets for ¥2,000 deposit |
| 9:49pm | 67 | Arrived at the 7th Station (Hanagoya) |
| 12:08am | 139 | Arrived at the 8th Station (Taishi-kan) |
| 1:49am | 101 | Arrived at the original 8th Station (Fujisan Hotel) |
| 2:30am | 41 | Arrived at 8.5th Station (Goraiko-kan) |
| 3:10am | 40 | Arrived at the 9th Station |
| 3:57am | 47 | Arrived at the summit! |
Yoshida trail notes
- There are two sections that are relatively difficult because of how steep they are and you’ll probably want to use gloves for them:
- Between the 7th and 8th station
- From the 9th station to the summit
- We packed 1L of water per person – If you can afford it, we suggest not packing any water and just purchasing it as it’s 2.2 pounds per L.
- We didn’t use any of our warm outer wear until the summit. Even if you’re cold at the 8th or 9th station, we suggest not layering and getting too warm because you’ll sweat on the steep climb from 8.5 to the summit.
- Our longest break was 30 minutes at the 7th station. We don’t remember why we sat so long, but we were talking to a group of Japanese teachers for a bit.
- While you can stop on the side of the trail and rest for most of the climb, make sure you’re hydrated and have eaten a small bite for the last section between the 9th station and the summit. There were official Mount Fuji guides along the path yelling not to hold onto the rope and not to stop because the trail is very, very narrow at the top, and they need to keep the funnel moving. We were ok, but there were many people who were not.
- The trail to ascend and descend are different paths. Do not go back down the same path you came up. The descent is pretty easy, but after being up for 24 hours, it definitely seemed to last forever. It’s also much easier with a trekking pole / stick because it’s a lot of loose gravel.
- When you’re descending, make sure to use the bathroom and buy food / drinks at the Original 8th station. You won’t find another toilet until the 7th station (an hour and a half away) or the 6th station (two hours away). You won’t find another place to purchase food or water on the descending trail after the Original 8th station.
- It’s useful to know where all the toilets are. Check out this link for a map of the Yoshida trail toilets.
What we wore
Ryan
- Nike compression pants – A lot of Japanese sites will suggest you wear trekking pants. We wore Nike compression pants that were perfectly fine, even at the summit. We had previously worn them on the New Year’s Eve run in Central Park, so we knew it would handle the freezing temperatures.
- Uniqlo Heat Tech long-sleeved base layer
- RBX XTrain Fitted t-shirt
- Darn Tough Light Hiker Micro Crew Light cushion
- Salomon GTX hiking shoes (Ultra 3’s)
Sara
- Nike compression pants + shorts
- Uniqlo Airism undershirt with built in bra
- RBX XTrain Fitted t-shirt
- Uniqlo light sports jacket
- Darn Tough Light Hiker Micro Crew Light cushion
- Salomon GTX hiking shoes (Ultra 3’s)
What we brought
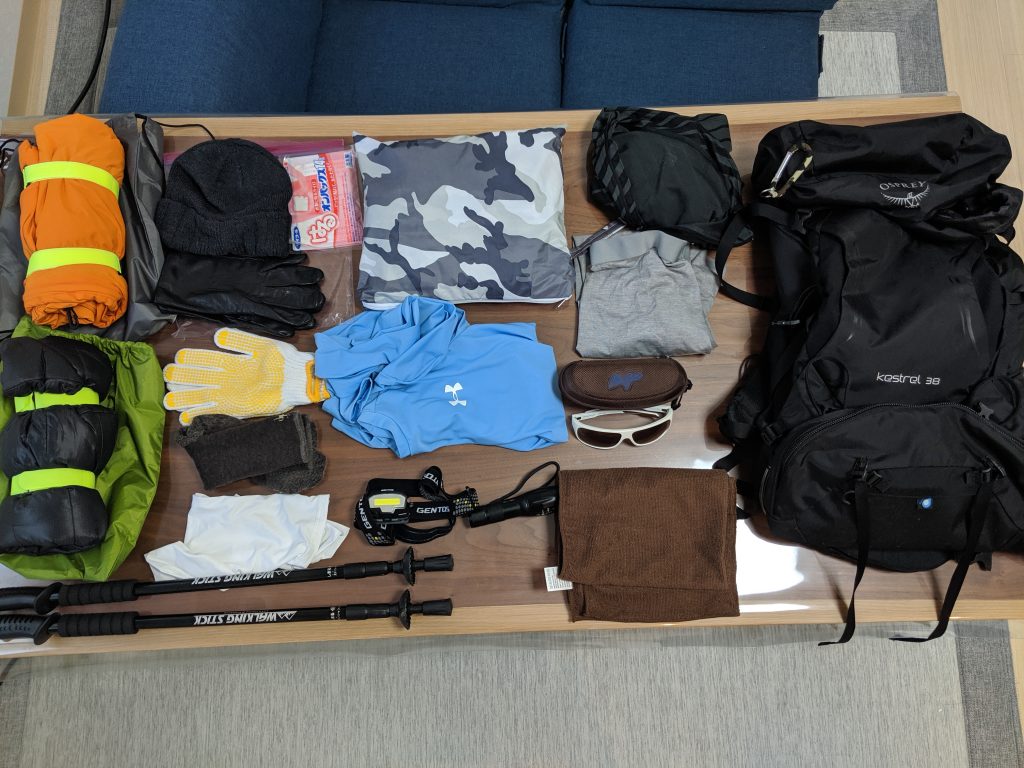
What Ryan brought up Fujisan. 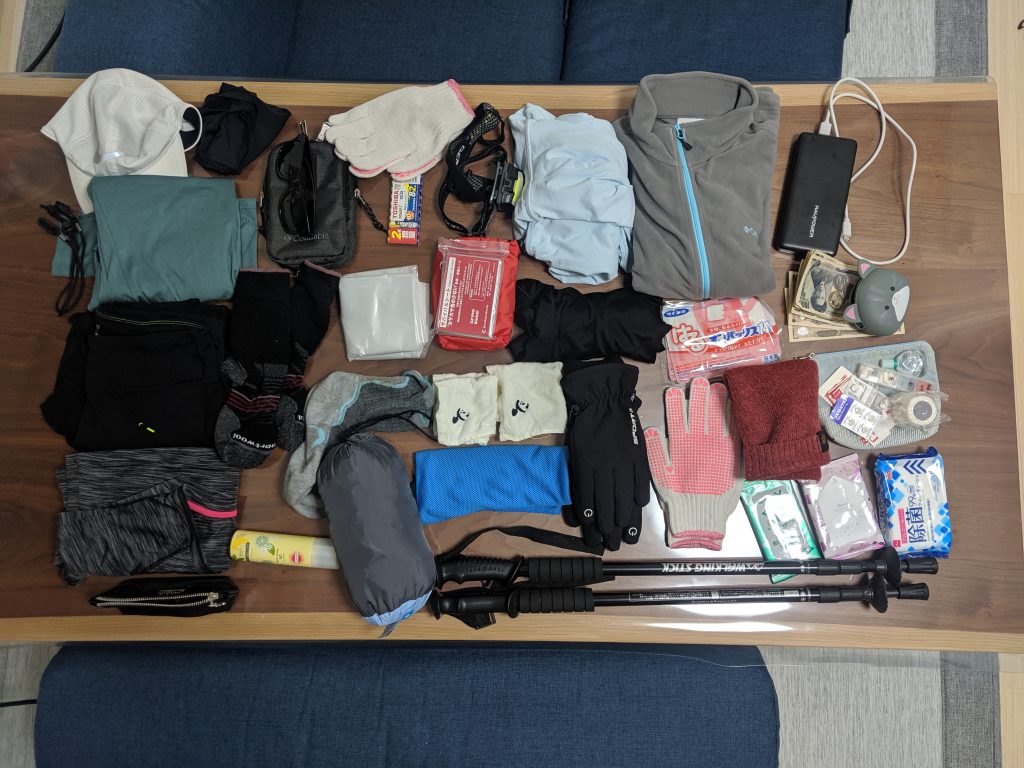
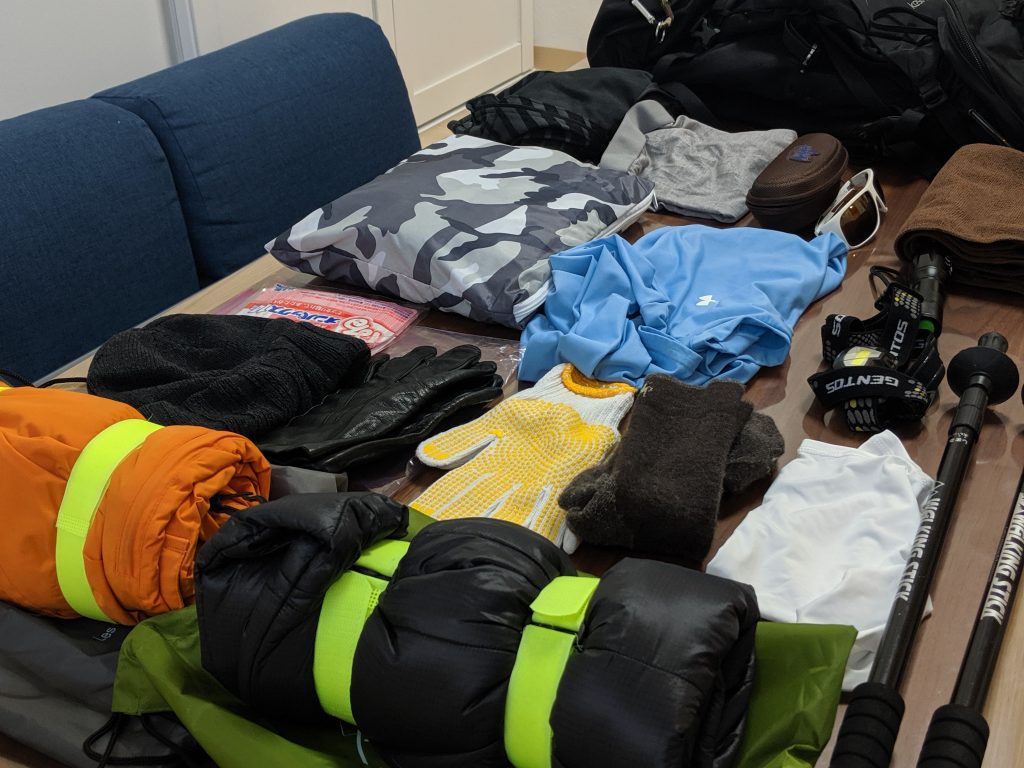
What Sara brought up Fujisan 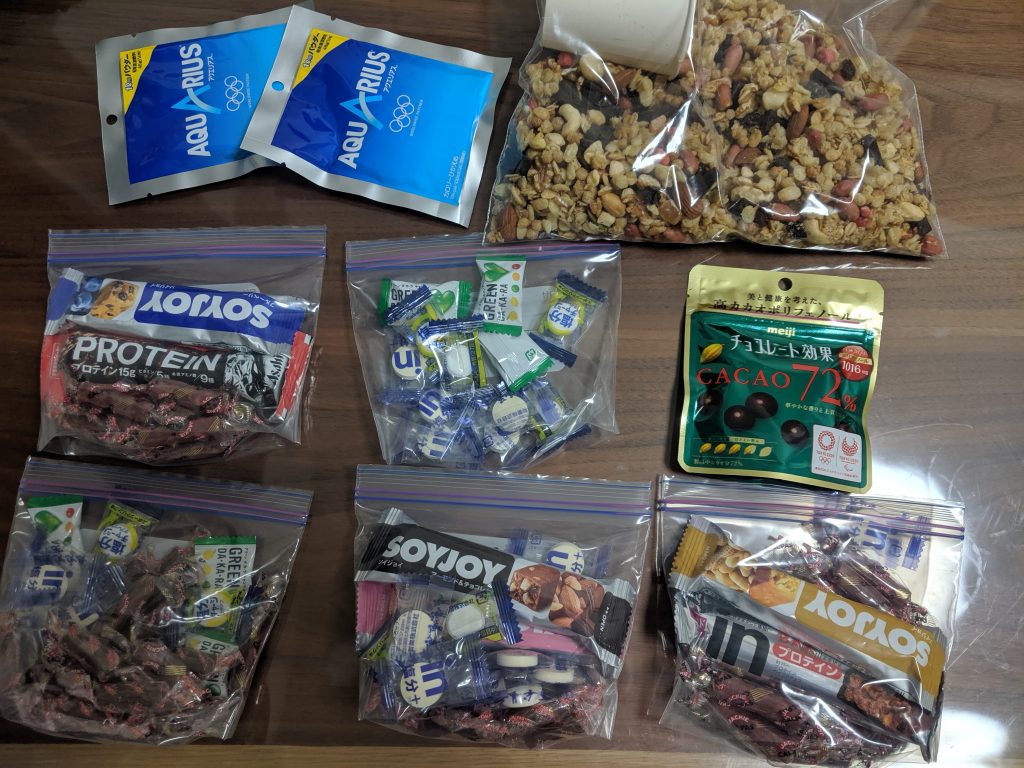
All the snacks we packed to hike up Fujisan.
*Ryan’s pack weighed ~20 pounds, Sara’s pack weighed ~15 pounds.
- Osprey Hiking Backpacks (Kestrel 38 for Ryan and Sirrus 26 for Sara)
- Sara had a small clip-on Columbia bag for her phone, keys, cash, etc.
- 2 trekking poles from 2nd Street (~20 USD a pair)
- Rain gear
- Ryan got this $25 set from Amazon.jp. It’s awesome, though a bit heavy.
- Sara had a rain set from Columbia (from Ishii Sports in Kichijoji ~$100 USD)
- Headlamp (with an extra set of batteries) – Japanese brand, 400 Lumens
- Ryan set his to lowest setting
- Sara had it on medium and changed batteries once when it was getting dim
- Warm outer wear
- Ryan scored a North Face down & Analog snowboarding jacket from Mode Off (~$100 USD for both!!! #modeofffinds)
- Sara had a light fleece from Columbia (from Ishii Sports in Kichijoji ~$45 USD)
- Microfiber towel
- Sunscreen and Sunglasses (for the hike down)
- Neck gaiters (for the hike down)
- Extra pair of SmartWool socks (in case of rain)
- Winter gloves & beanie (old)
- Pair of cotton work gloves from Daiso
- Gaiters (~5 USD) rented from Yama Dogu.
- 1 L of water each in Evernew water bladder with hydration tube
- Large ziplock of homemade mix that consisted of Calbee Fruit Granola, mixed nuts, dark chocolate, and dried fruit.
- 2 Weider in Jelly Energy In drinks each
- 2 In protein bars each
- Ryan brought his favorite meat sticks
- Sara also brought a small first aid kit (band aids, medical tape, eye drops, ibuprofen, etc), and toothbrush, body and alcohol wipes (no running water on the mountain)
- Hat (old) & hat-clip (from daiso) – it’s windy up there, so a hat clip is good insurance. We didn’t use our hats since we rented the helmets though
- Emergency blankets and stick on body warmers (which we ended up not using)
What we spent (~¥24,800 or $230 USD)
(There were two of us, so about $115 USD spent each.)
On transit (~¥12,800 or $120 USD)
We ended up staying one night in Kawaguchiko to check out places around the lakes. If you skip this, you’ll spend about ¥5,800 per person.
- ¥2900 x 2 on one-way bus fares from Shinjuku station to Fuji-Subaru Line 5th station
- ¥1540 x 2 on one-way bus fares from Fuji-Subaru Line 5th station to Kawaguchiko station
- ¥1950 x 2 on one-way bus fares from Kawaguchiko station to Shinjuku station
On the mountain (~¥12,000 or $111 USD)
- ¥600 for a locker at Fujikyu Unjokaku
- ¥1000 x 2 donation to the Fujisan Conservation Donation Campaign @ 6th station
- ¥2000 for bathrooms (in ¥100 coins)
- ¥2000 for drinks – we didn’t purchase any food during the climb
- ¥500 for the smallest walking stick
- ¥300 for the stamp at the summit
- ¥2000 for curry rice and karaage pre-hike meal from Fujisan Miharashi
- ¥2300 for katsu curry rice and karaage post-hike meal from Fujikyu Unjokaku
- Refundable ¥2000 x 2 deposit for Montbell helmets
Tips
- If you really want to see the sunrise like we did, pack warm and start early. We carried up enough lightweight warm, outer layers so that if we were early (and we were), we wouldn’t freeze on top of the mountain. So… start early and take your time, and assuming the weather holds up, you’ll be fine.
- There are free toilets at the 5th station down the stairs by the parking lot. You have to look for them as the ones in the stores will have a charge of ¥100.
- For timing, you’ll want to make sure you’re past the last 7th station mountain hut before midnight and the last 8th station mountain hut at 2:00 am. Based on other blogs, this was the approximate time people who slept in mountain huts get up to start their climb for the summit. Since many of these huts are filled with tour groups, you’ll be stuck behind them on the climb to the summit. While you can still pass people lower on the mountain, it gets trickier the higher you get and virtually impossible above the 9th station. Here is a link from the official Fuji website that shows the busy times on the trails.
- Depending how long you rest at each station, you might not need your warm outer layers until the summit. While it’s freezing at the summit, we didn’t wear anything aside from our base layers and rainwear until the very top. Since we had over an hour to wait for the sunrise at the summit, we layered on our warm outer layers there. We didn’t rest much at the stations near the top, so while it was cold, the minute you start climbing again, your body quickly warms back up.
- Trekking poles are a life saver. If you don’t bring your own trekking poles (we purchased ours for ¥2000 a set at 2nd Street in Hachioji), you can buy a walking stick from the 5th station for ¥1200. In addition, you can get the stick stamped at the various mountain huts. If you don’t buy the largest stick, you won’t be able to get all the stamps. We bought the smallest stick because we only wanted the summit stamp.
- Buy a pair of cotton work gloves from a ¥100 store. These gloves won’t keep your hands warm on the summit, but they’ll come in handy between the 7th and 8th station and 9th station to the summit as there are sections where you’re basically rock climbing.
- If you want to go to the highest peak on the summit called Kengamine (剣ヶ峰), you’ll have to take the Ohachimeguri trail around the crater. We didn’t do this because it was getting really crowded on the summit, and we’re saving it for when we stay in a mountain hut next year. 🙂
- If you want to visit the summit post office, make sure it’s still open. The post office closes before the end of the climbing season so if you climb too late, you’ll have made the 30-40 minute trek from the Yoshida trail summit for no reason. To find out if the post office is still open, you can check this page. Note that it still might be closed due to inclement weather.
- Submit your summit picture for a certificate. If you want to get an online certificate to show that you’ve climbed Fujisan, check out this site.
Do’s
- If you’re going to attempt a bullet climb, be prepared and wear the appropriate gear – not only for your sake, but for everyone else on the mountain as well. We saw quite a few people hiking in running shoes, which is definitely NOT advised. There are sections of the trail that if you were to slip, you’d also take a couple people off the mountain with you. We were behind one such fellow, and it was pretty scary to say the least. ばかやろう!
- Bring a lot of coins and cash. C.R.E.A.M. Everything on the mountain comes at a price – one that only goes up as you do!
- Bathrooms: ¥200 up to the 8.5 Station, ¥300 at the summit
- Walking stick brands: ¥200 – ¥300 each
- Drinks: ¥400 from the 7th station up, ¥500 from the 8th station up (for 500ml / 20oz) – They have everything from water to beer to red bull up there.
- Food: Snacks and cup noodles are around ¥250 – ¥600, full meals from ¥1000 – ¥1500
- Borrow a helmet at the 6th station. We’re not sure why more people don’t do this, but at the 6th station Mt. Fuji Safety Guidance Center, helmets can be borrowed for a ¥2000 refundable deposit. They’re lightweight Montbell helmets so there’s absolutely no reason not to do this.
- Know the rules of the mountain.
- Yield to the person ascending the mountain. The person climbing uphill is working harder and if you are walking downhill and encounter someone, yield to that person.
- Yell “ROCK” if you accidentally displace a rock.
- Do not walk near the edge of the path. I honestly don’t know why this needs to be said, but we actually saw someone walking near the edge to show off to his girlfriend. -_-
Don’ts
- If you can afford North Face branded jackets, you can surely afford the ¥200 – ¥300 donation to use the toilets. Don’t be those foreigners. We saw a lot of foreigners using the toilets without placing money into the donation box. We get it – it’s a donation, but someone has to literally carry your 💩 down the mountain, the least you can do is donate what’s asked.
- Don’t leave your trash on the mountain. Whatever you bring up the mountain, you need to bring down. If you purchase drinks or food at a mountain hut, they will typically only take the trash of what you purchased – so don’t use them as a trash receptacle.
- If you feel like you’re coming down with altitude sickness, your best bet is to descend. Don’t keep ascending and place other people in danger. Luckily, nobody in our party came down with altitude sickness, but I have heard horror stories about it.
- Don’t go down the Subashiri descending path unless you want to end up in Shizuoka. The Subashiri and Yoshida trails share a portion of the descending path from the summit. During the descent, there will be a sign along with a Mt. Fuji guide asking you if you are going down the Subashiri path. If you make this mistake, you will have a very long and expensive ride back to the Fuji Subaru 5th station.
Photos from the trail*
We were extremely lucky because while there was lightning and rain at the start of our climb, we didn’t experience more than 30 minutes of rain. The weather forecasts had indicated that we might not be able to see anything at sunrise, but luckily, the weather held up.
*Photos are in chronological order with the first picture being from the start of our hike.
Close-up view of what Ryan brought to the hike. 
We left our bags in the ¥600 lockers at Fujikyu Unjokaku. 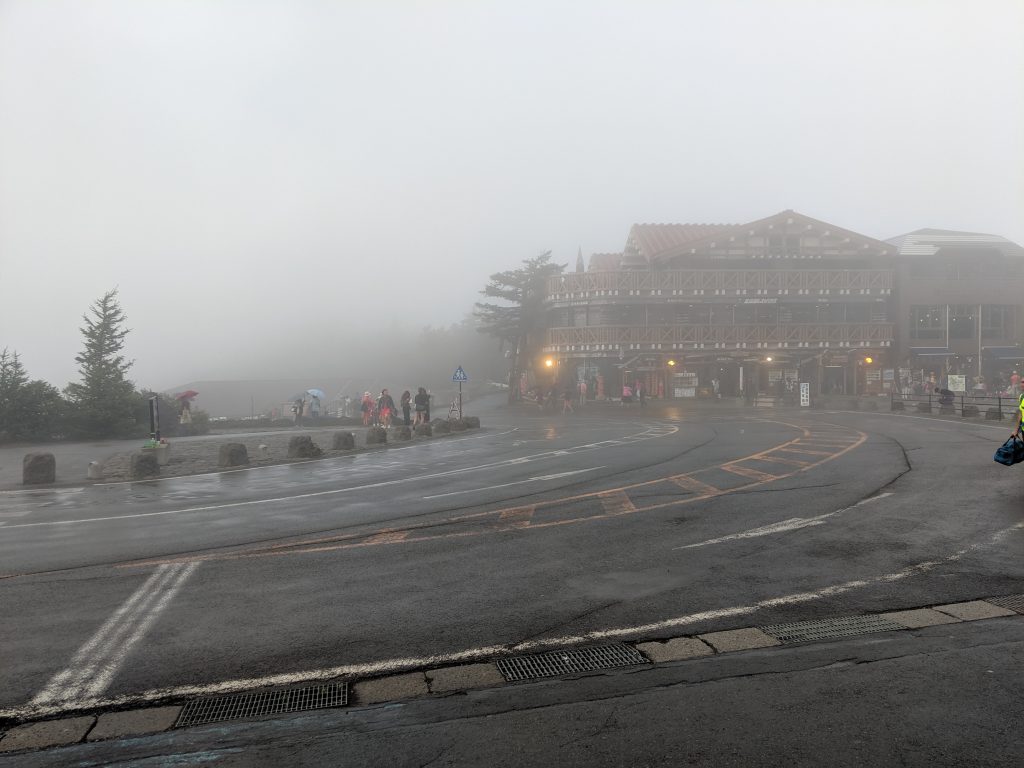
Weather went from sunny to raining to sunny in a matter of minutes at Fuji-Subaru Line 5th Station. 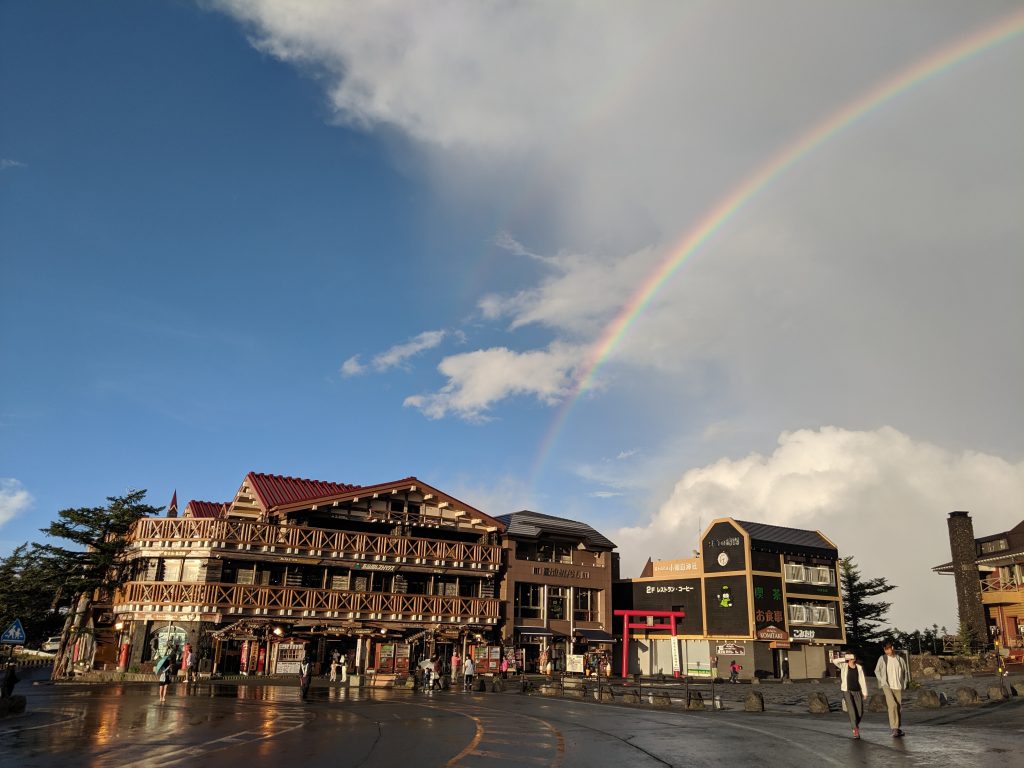
A few minutes ago, it was storming, now a rainbow. Since we’re from Hawaii – this MUST be a sign! 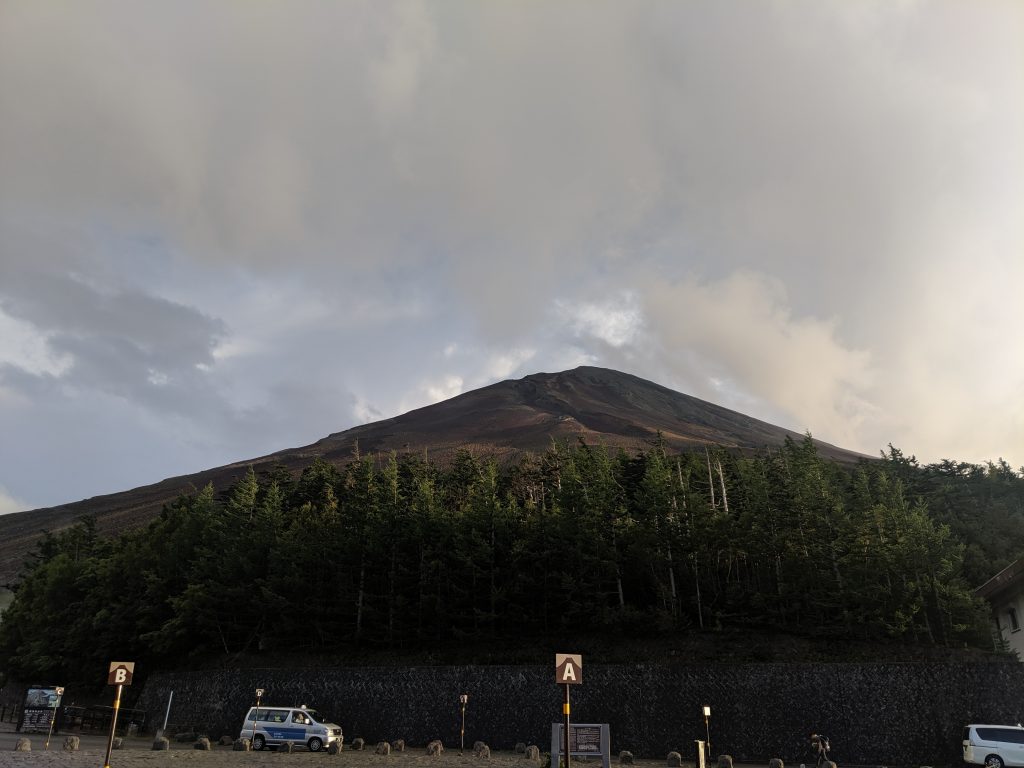
Clear picture of the summit of Fujisan from the Fuji-Subaru Line 5th Station 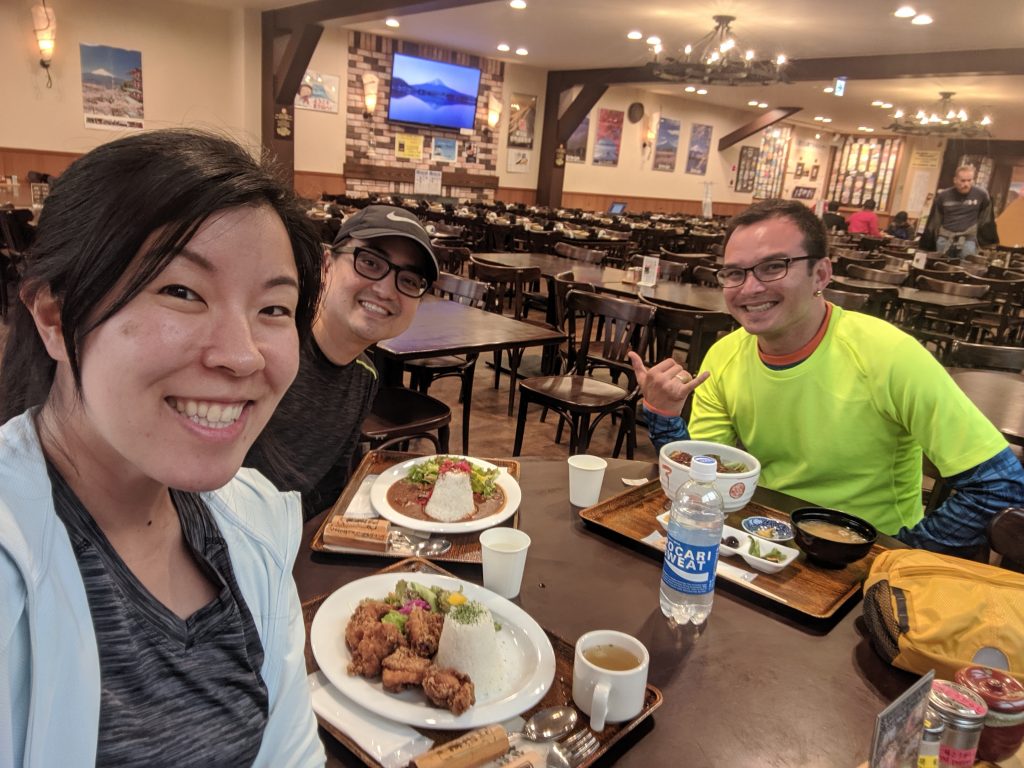
This is our pre-hike meal from Fujisan Miharashi. Karaage + Curry rice, ftw. Notice there aren’t too many people bullet climbing. 
This was the weather before we started climbing. 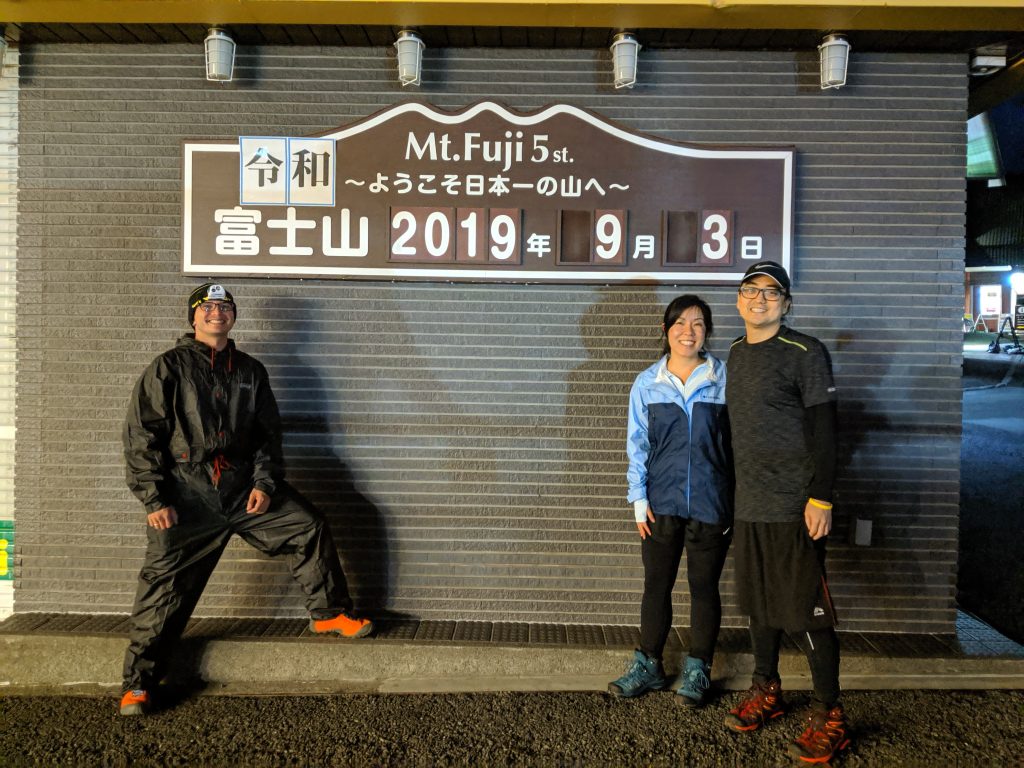
Group pic at the starting line! 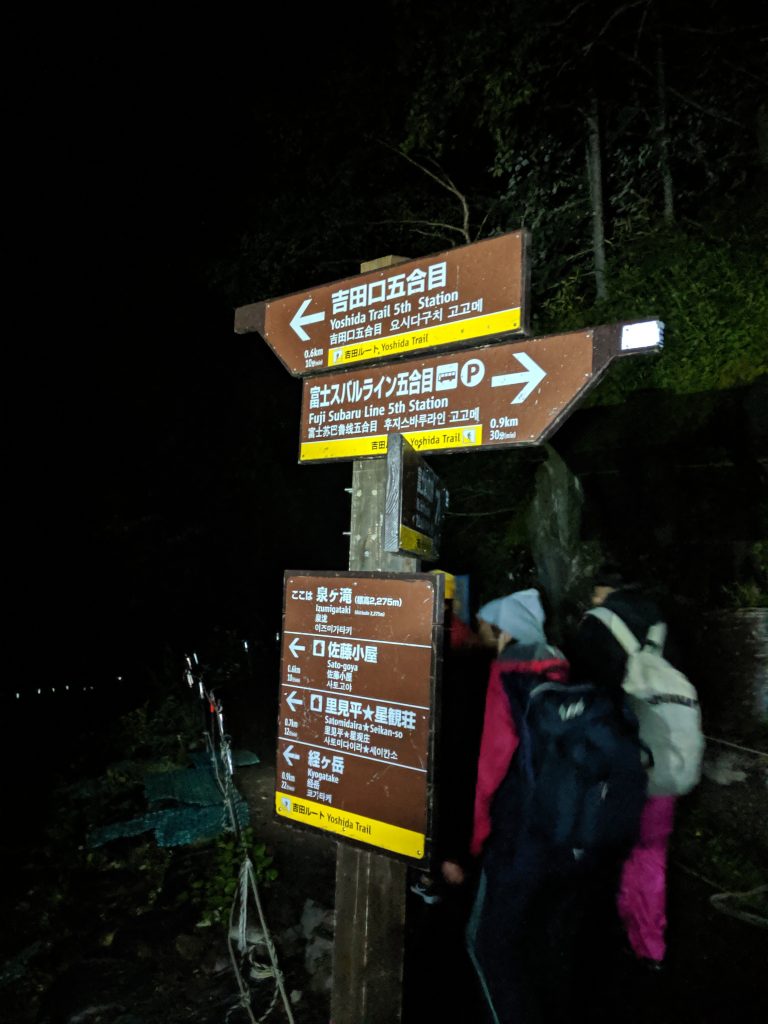
And we’re off. Lots of signage along the path. 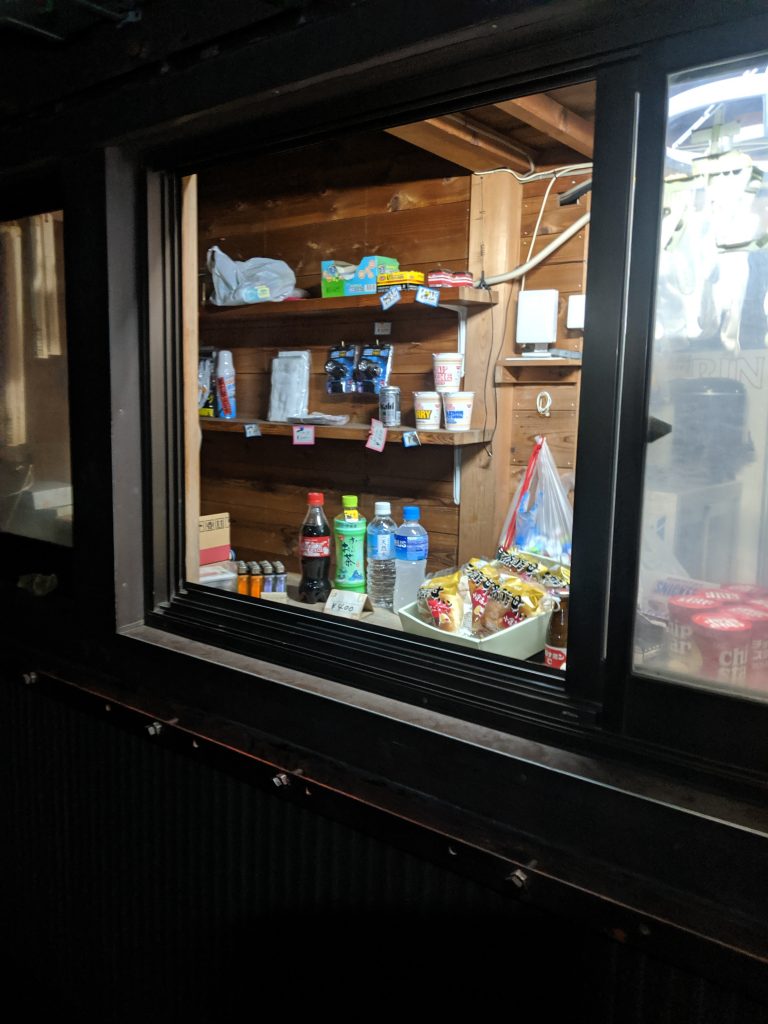
Pictures of food and drinks being sold at the first mountain hut. You’ll see a lot of this along the trail. 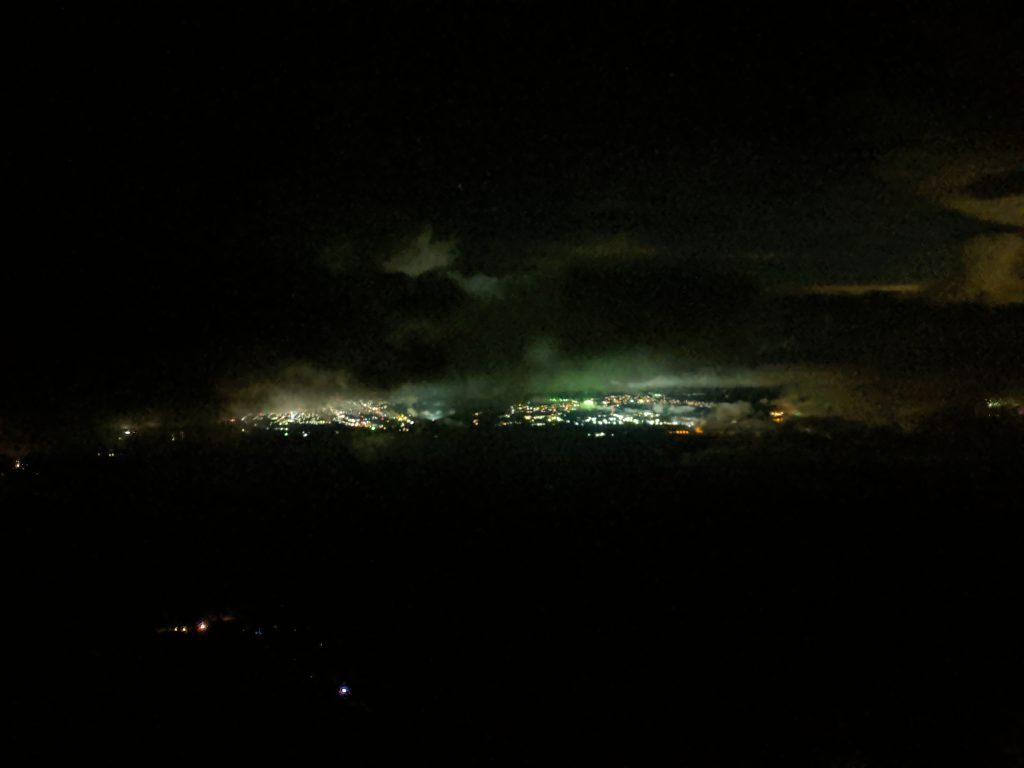
View down Fujisan at night. Still see the city lights. 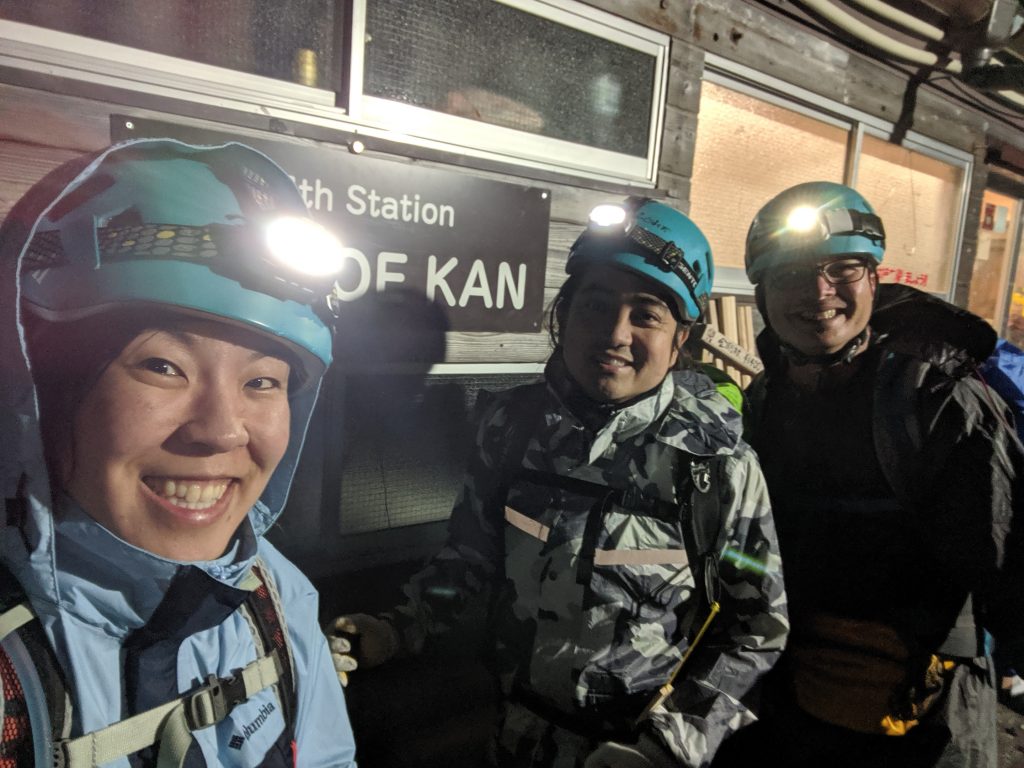
Group picture in front of 7th Station Tomoe-Kan. 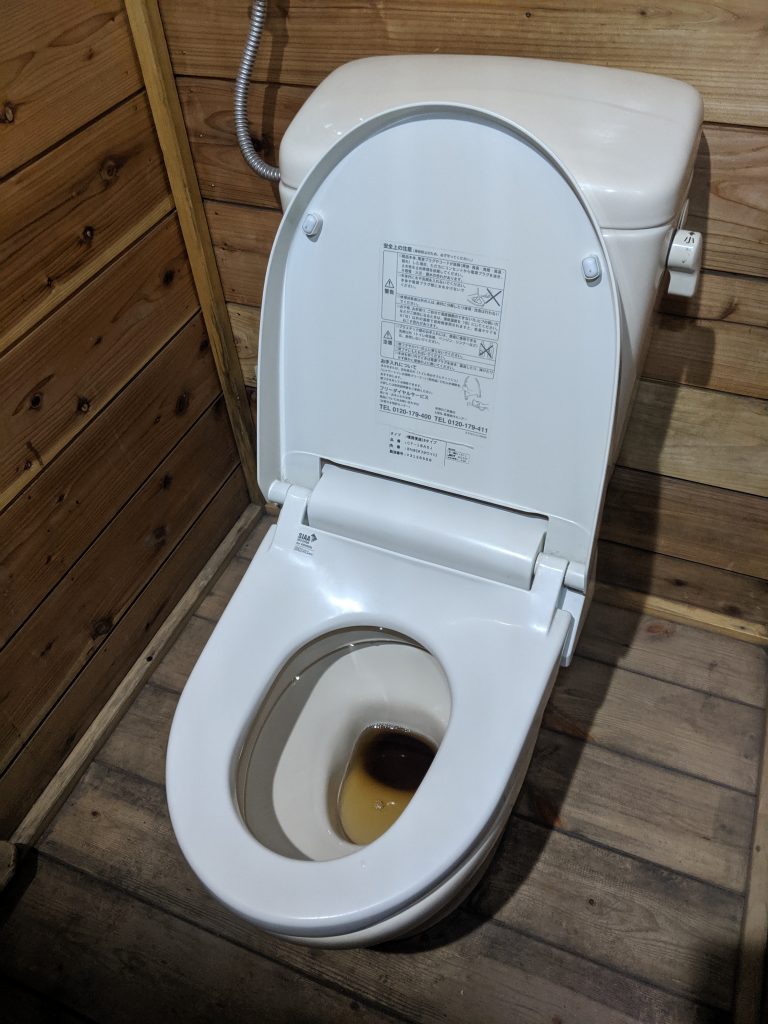
Just wanted to show what you’re getting when you pay for a bathroom. No, nothing in the water! XD 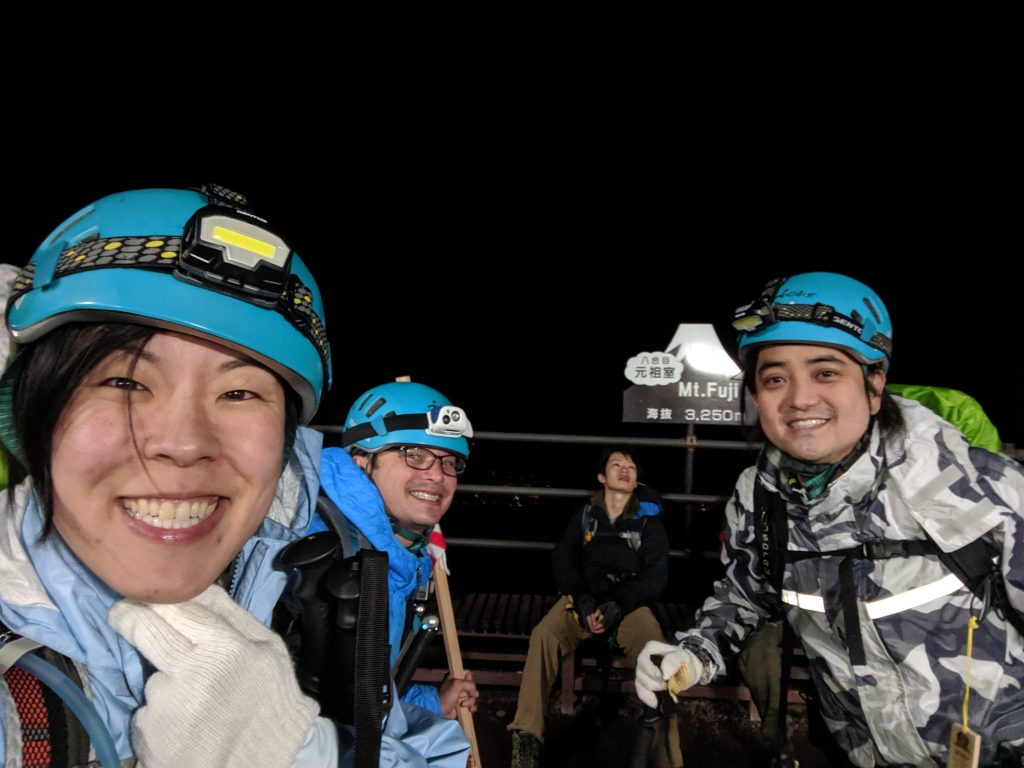
Group pic at the 8th station Gansomuro 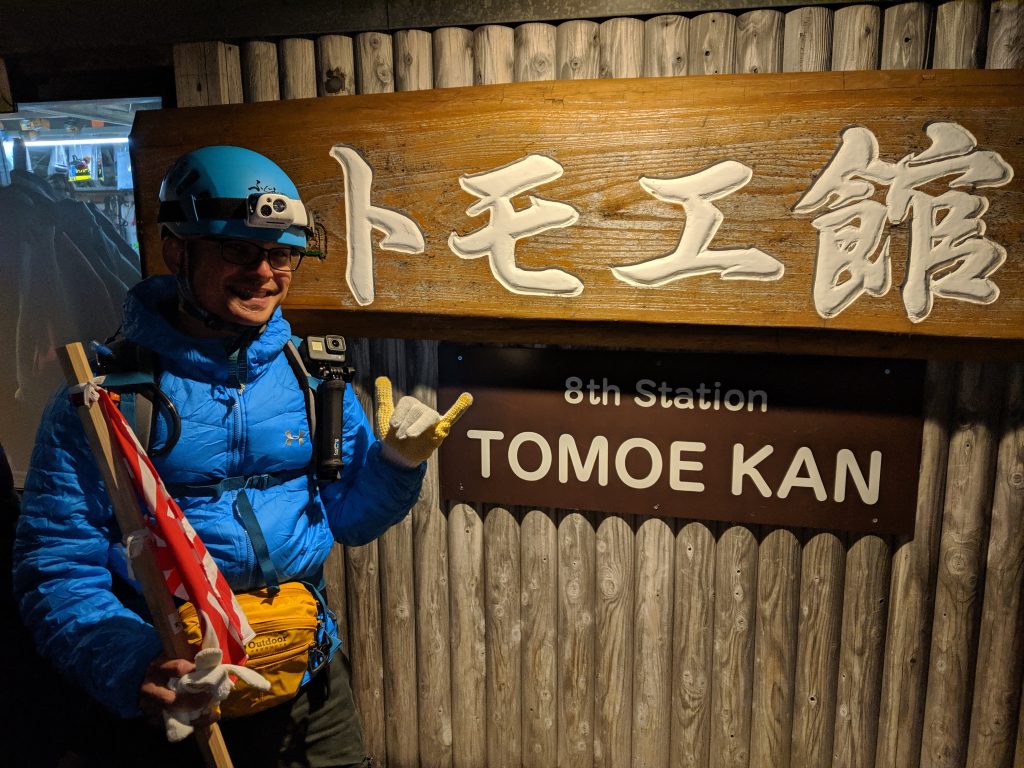
Corwyn in front of the Original 8th Station Tomoe-kan (3400 m). 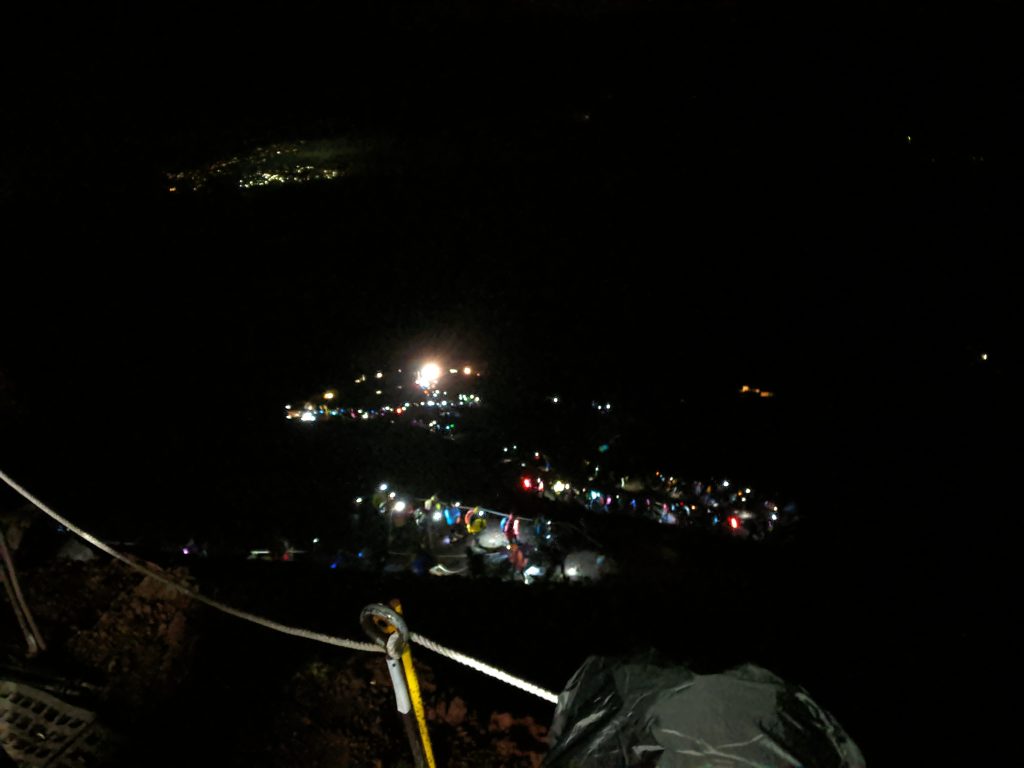
All those lights are people on their climb to the summit – taken from the Original 8th Station. 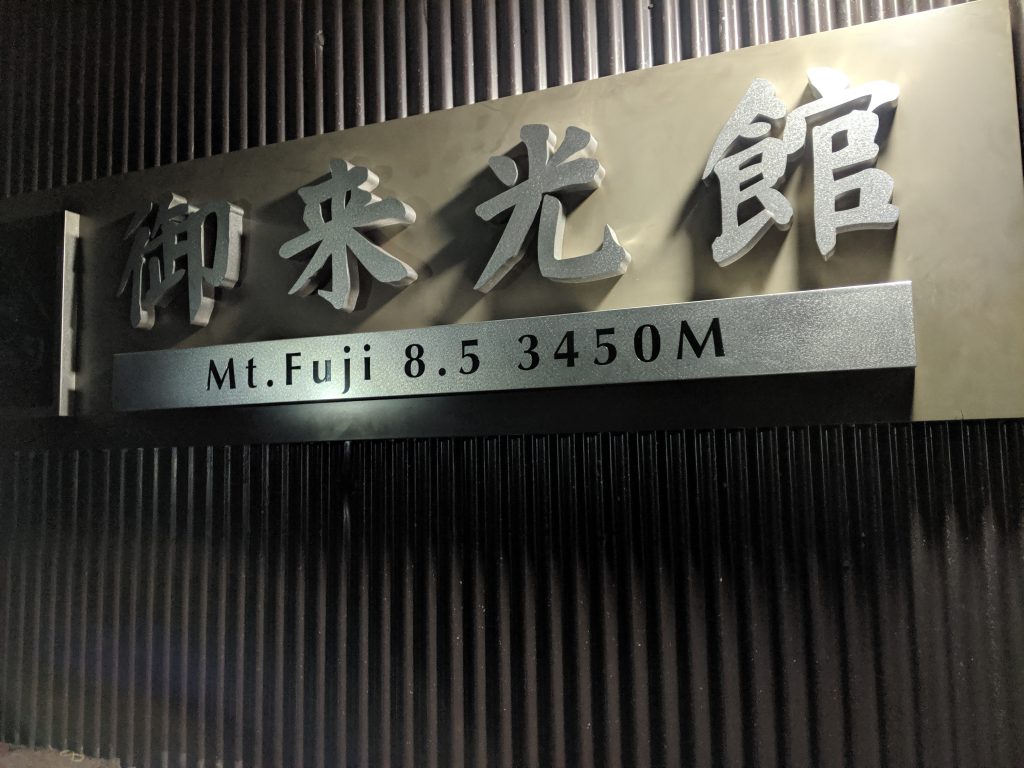
Sign at 8.5 Station Goraiko-kan (3450 m) 
So, so close. It’s crazy how long this last leg will take because of the traffic and how steep it is. 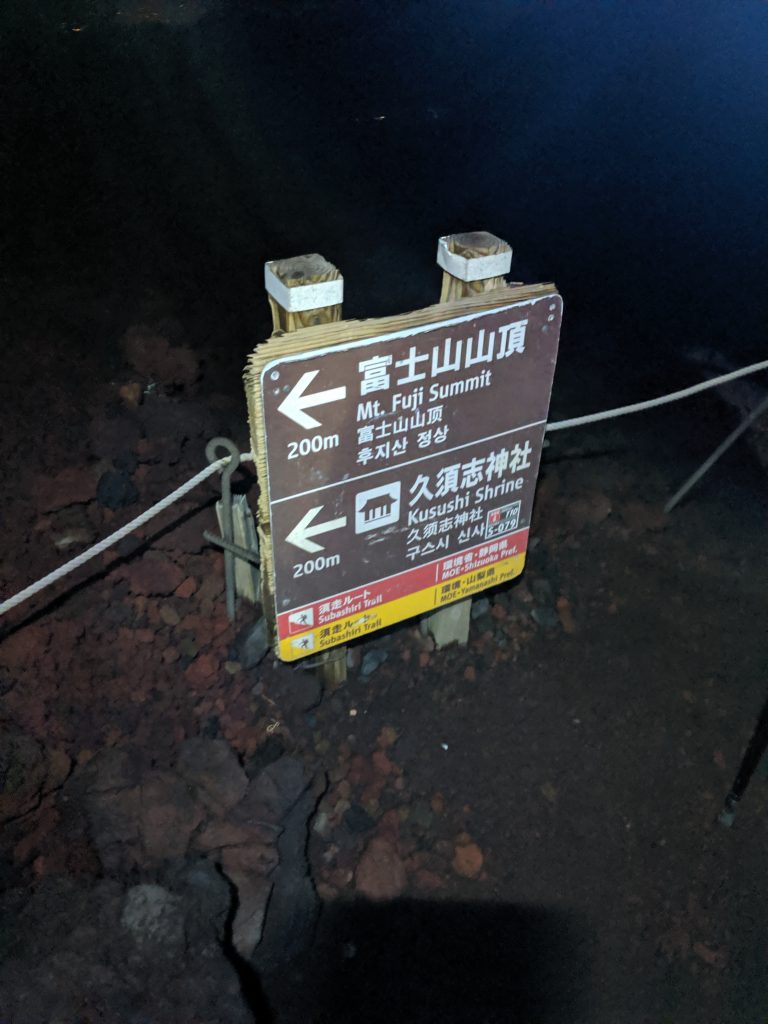
200 m left until Fujisan summit 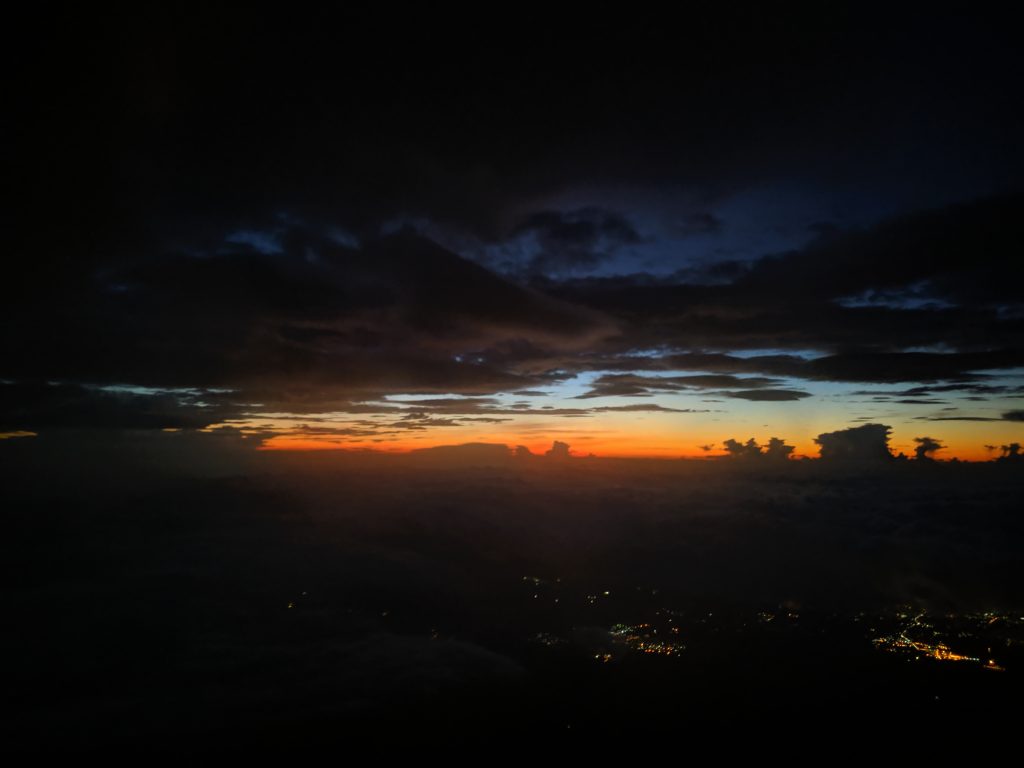
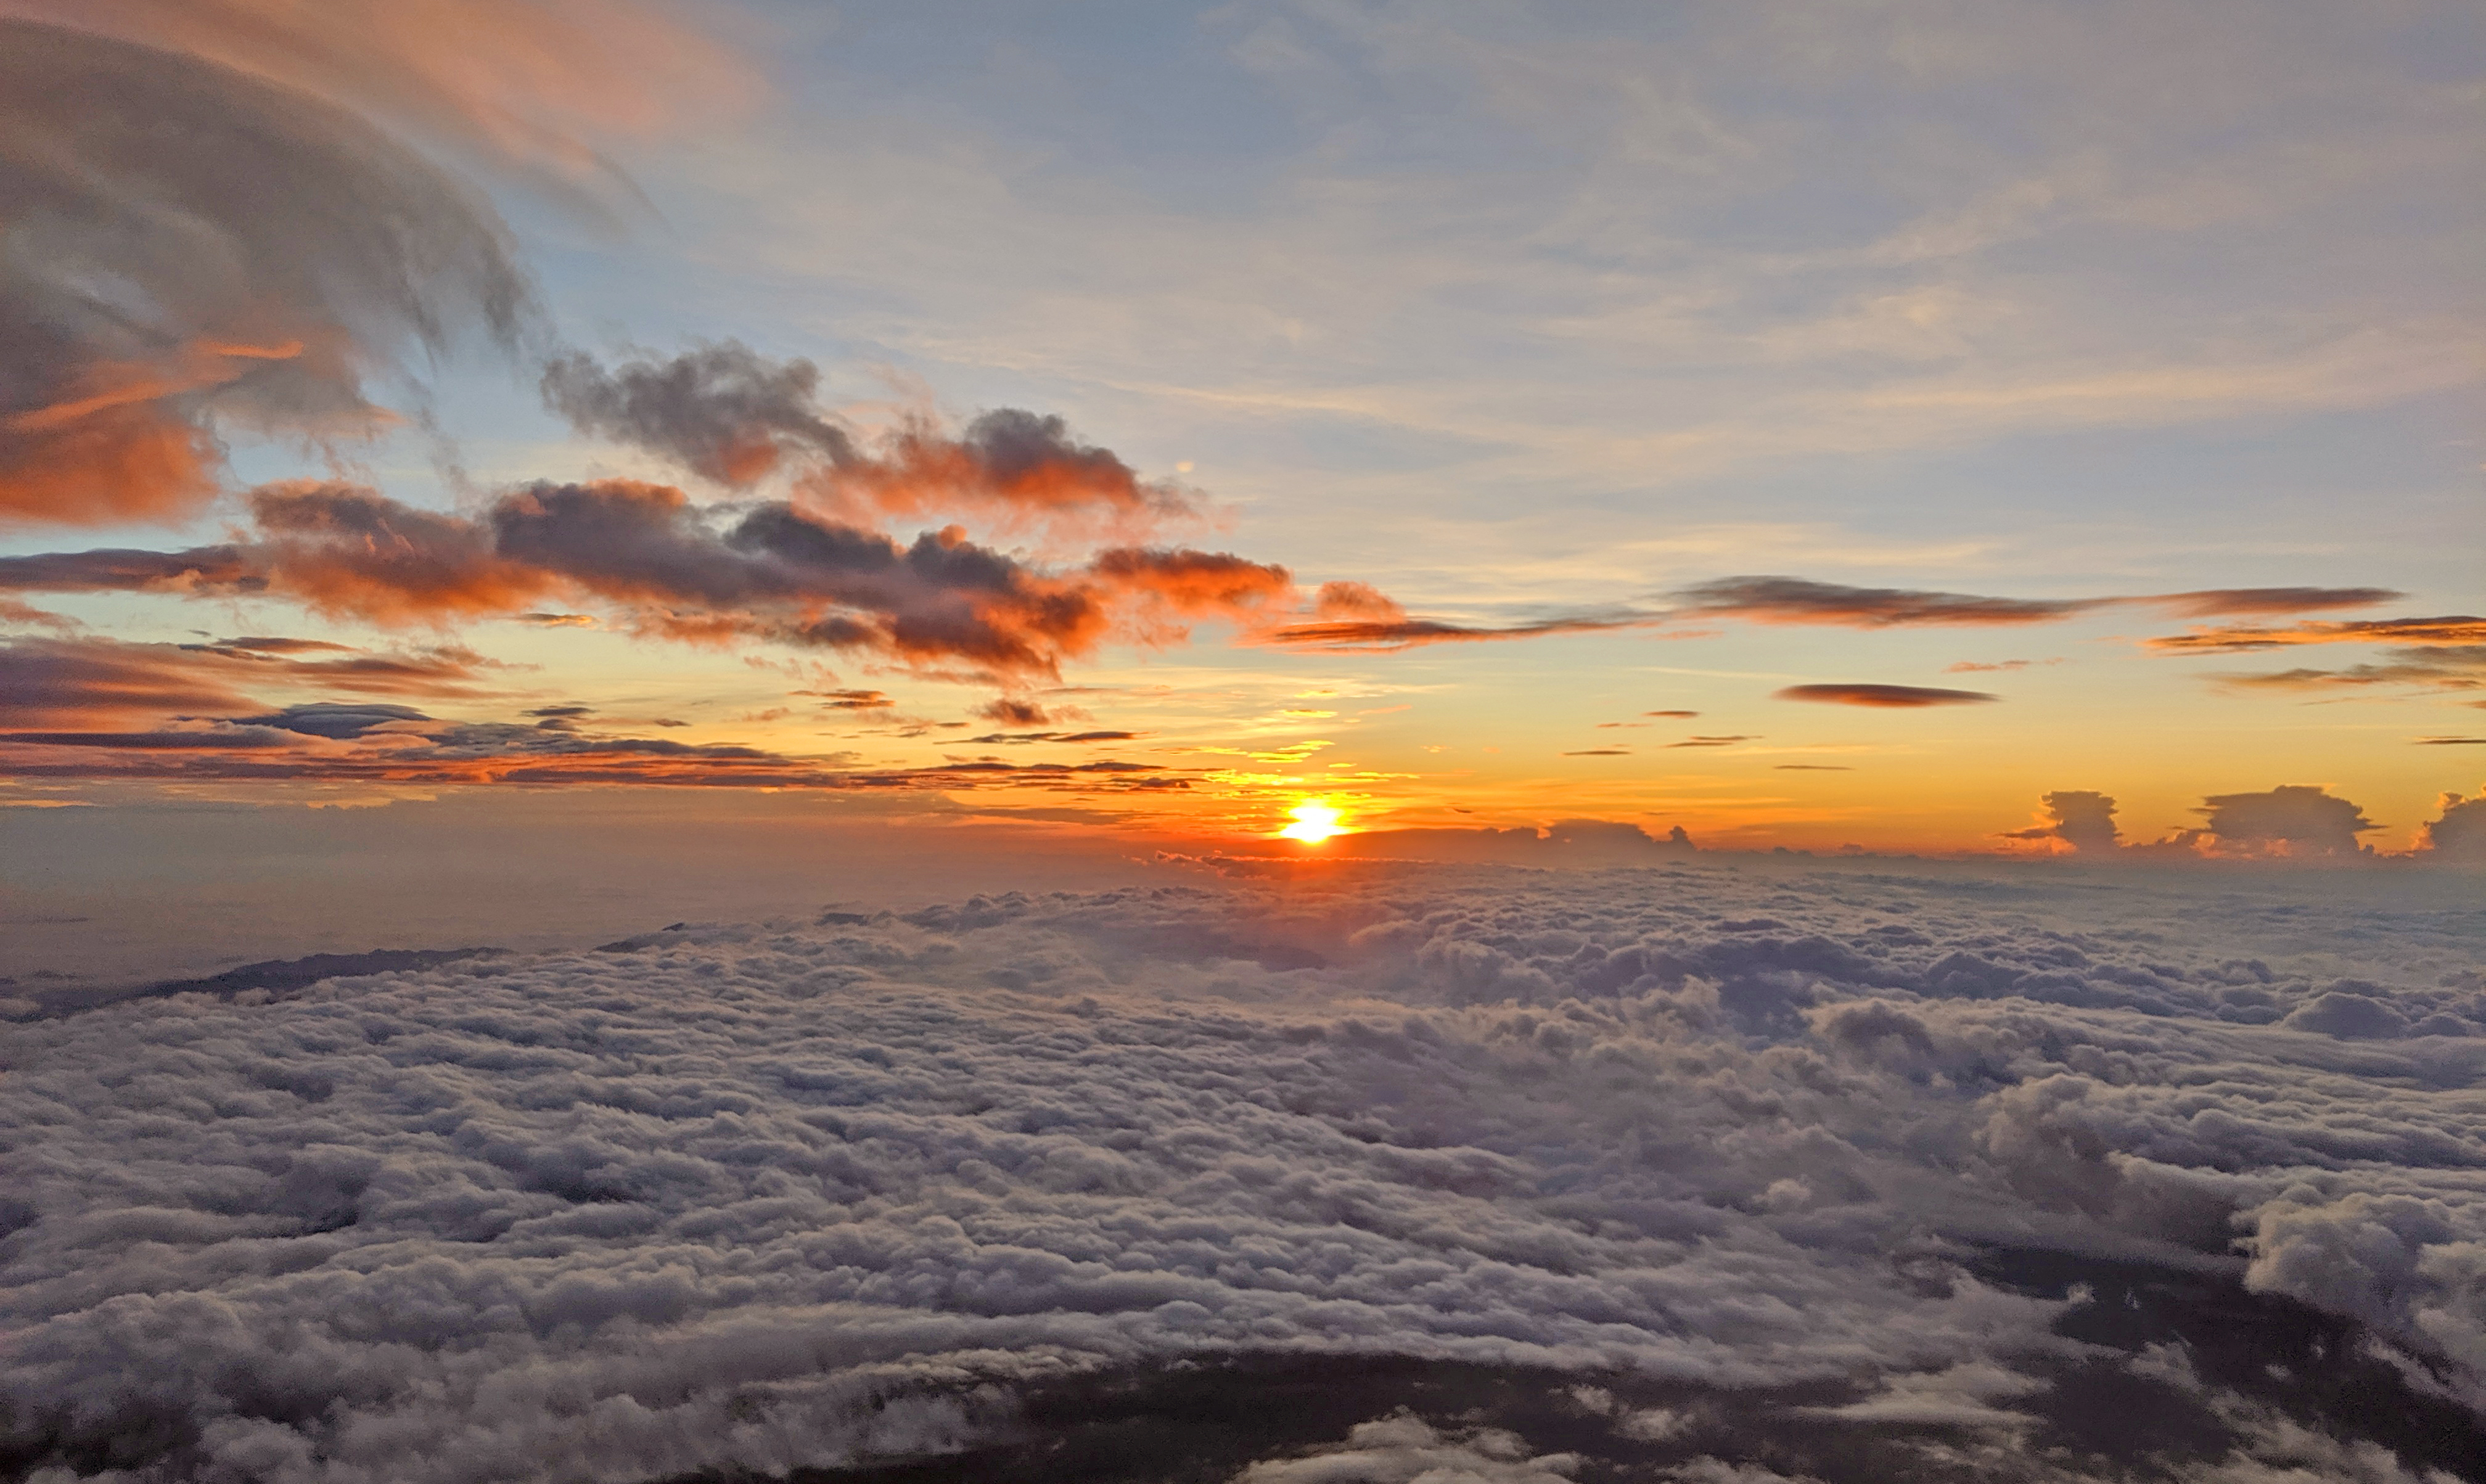
Pictures of the horizon from Fujisan summit 
See that trail of lights? All those people are going to miss the sunrise. 🙁 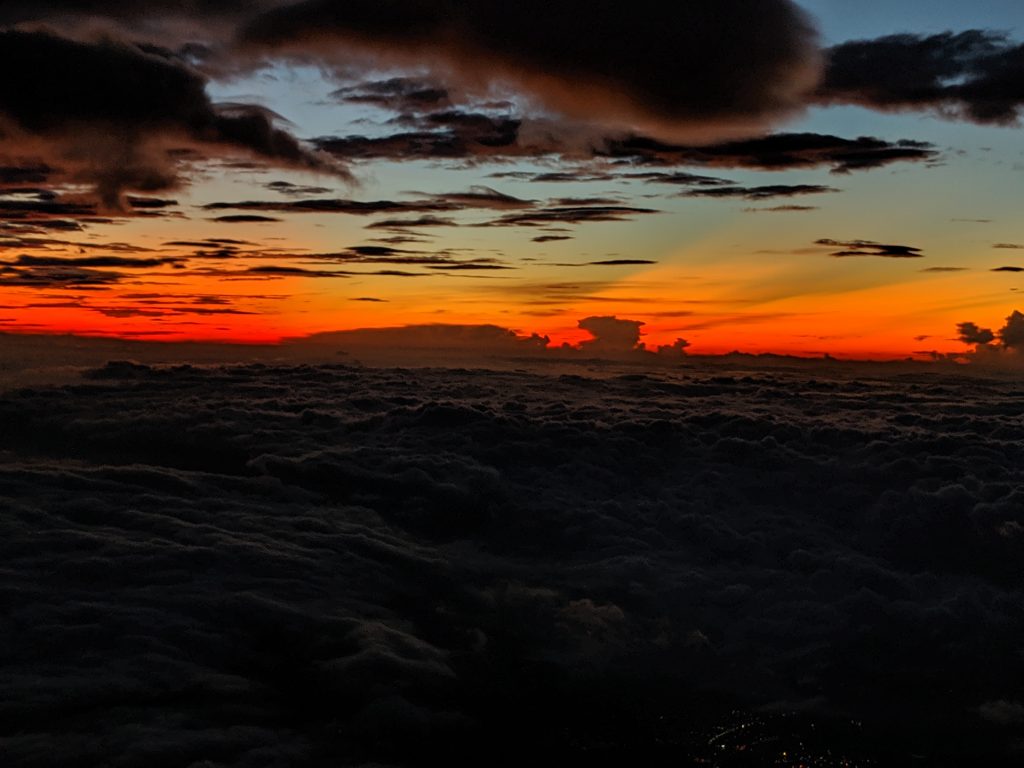
The views of the horizon right before the sun is rising is amazing. Definitely a must see once in your life. 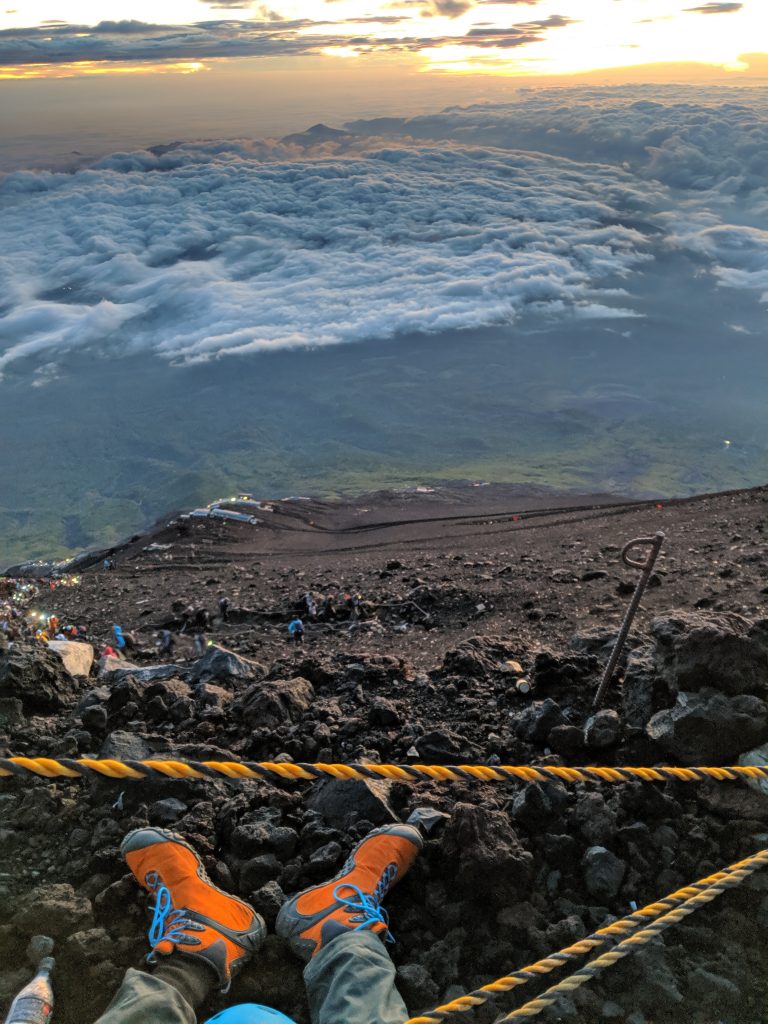
It’s a long, long way down to the bottom. 
Panorama at the summit of Fujisan right before sunrise. 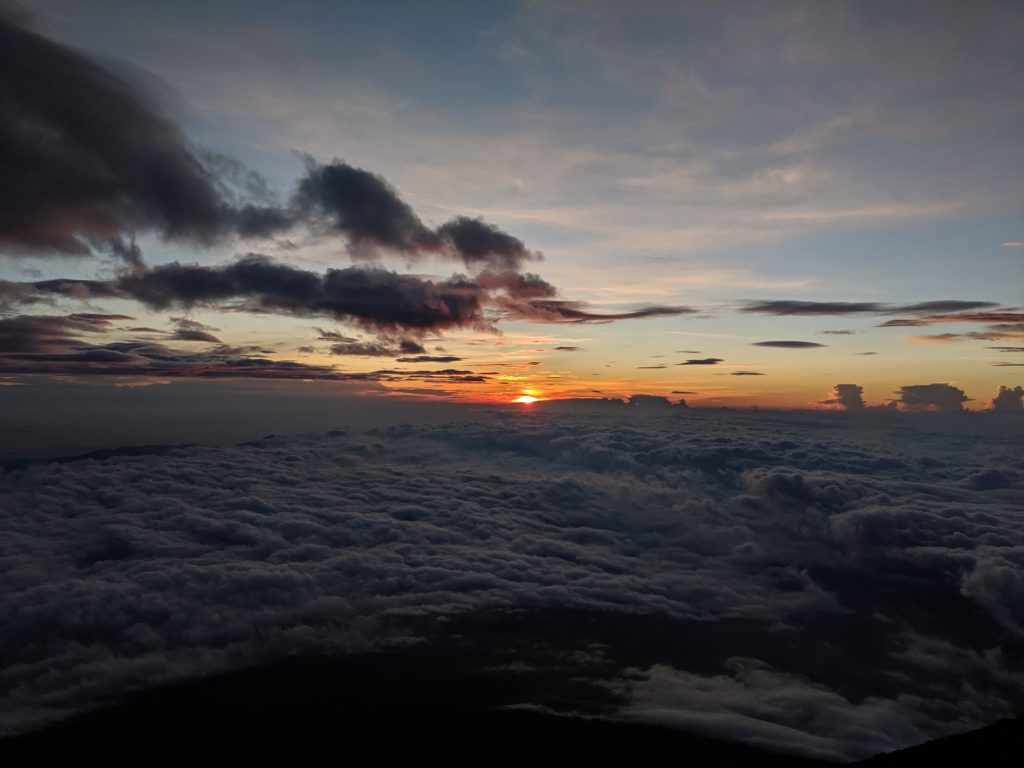
I now know why it’s called the “Land of the Rising Sun” 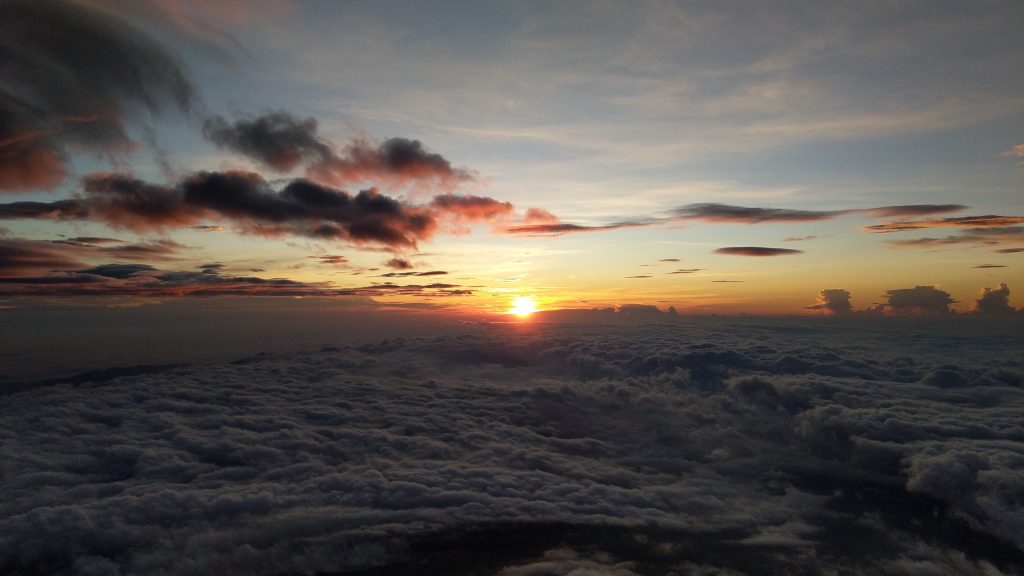
Sun starting to peek out from the horizon. 
Sunrise from the summit of Fujisan 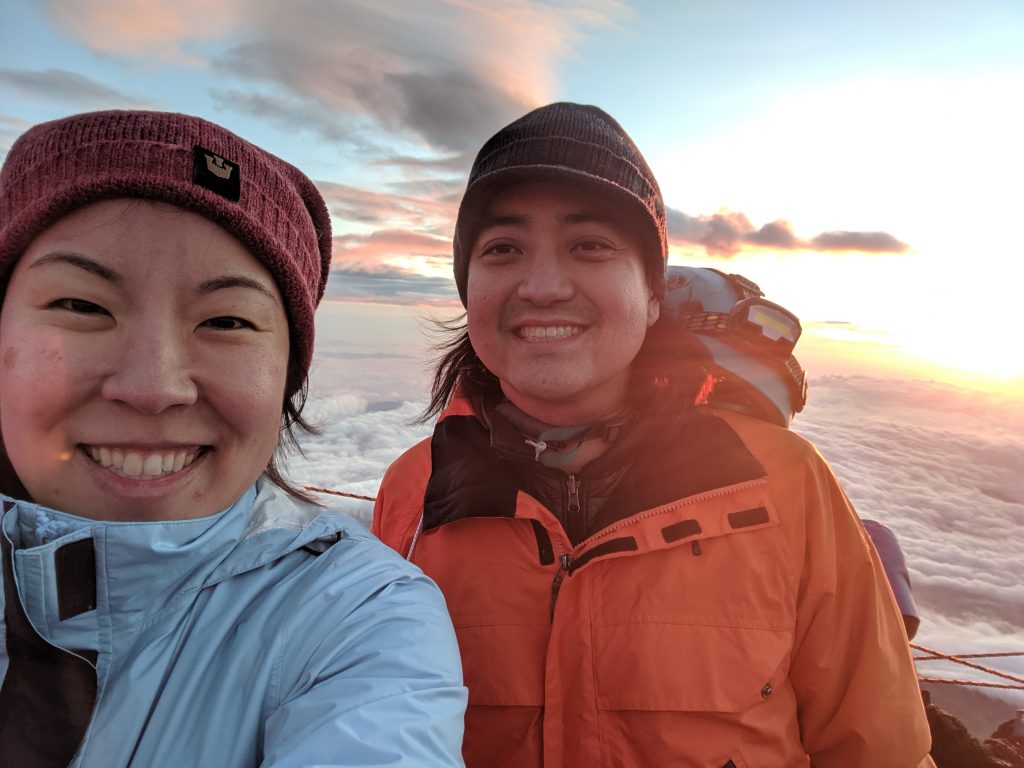
Look, we made it! Our selfie from the summit of Fujisan. 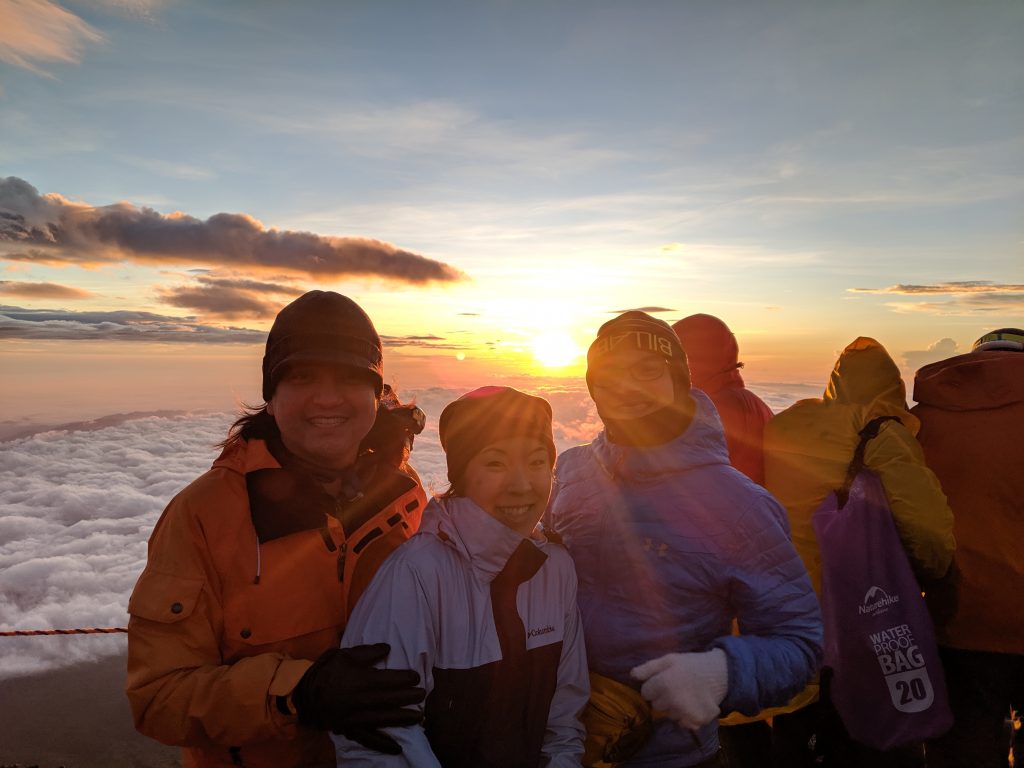
We started from the bottom now we’re here! 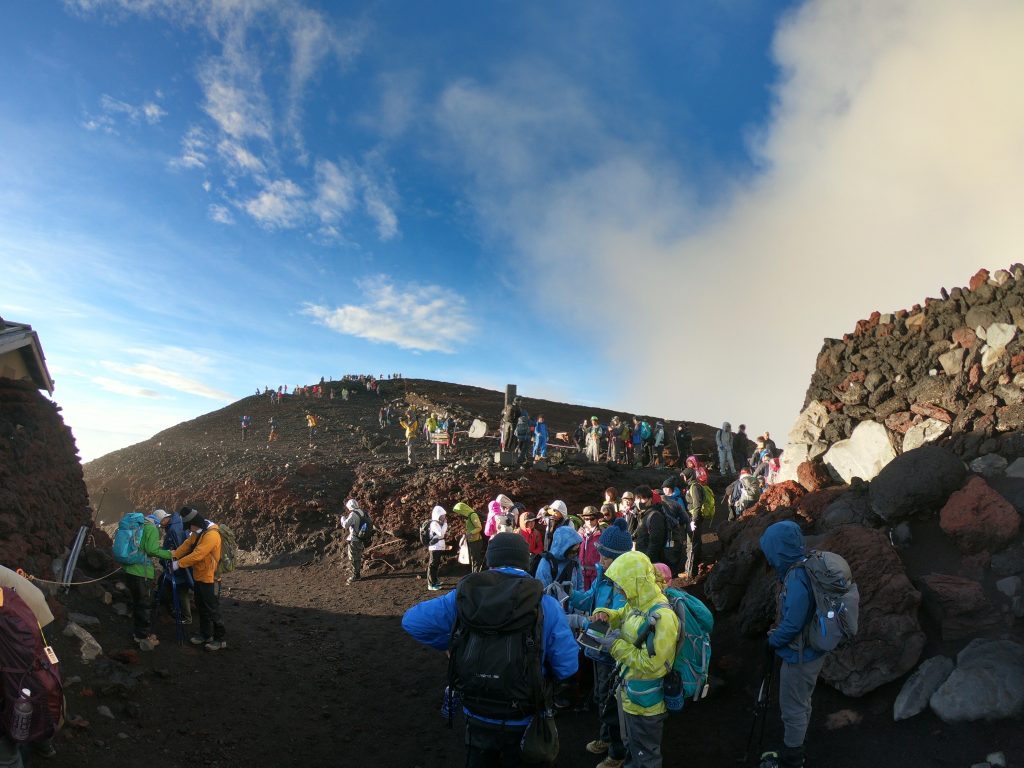
Once the sun was up, everyone started walking around the summit area. 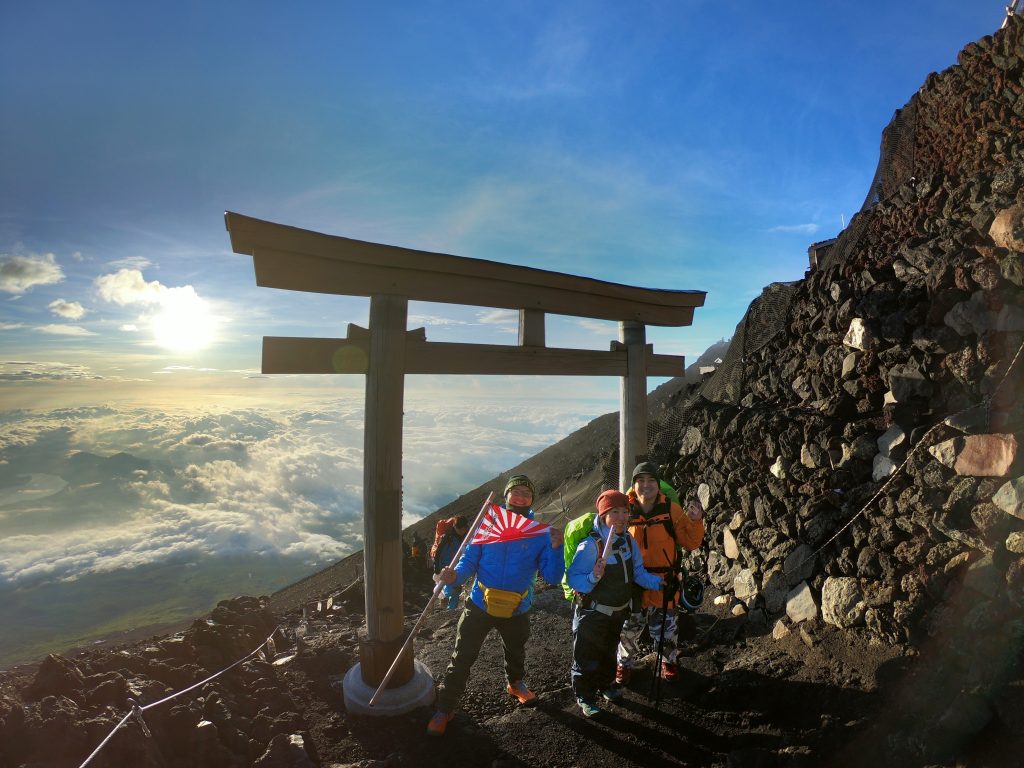
We made it! This Torii gate marks the summit of Fujisan. 
Coming down Fujisan looks like a movie set for some dystopian future. 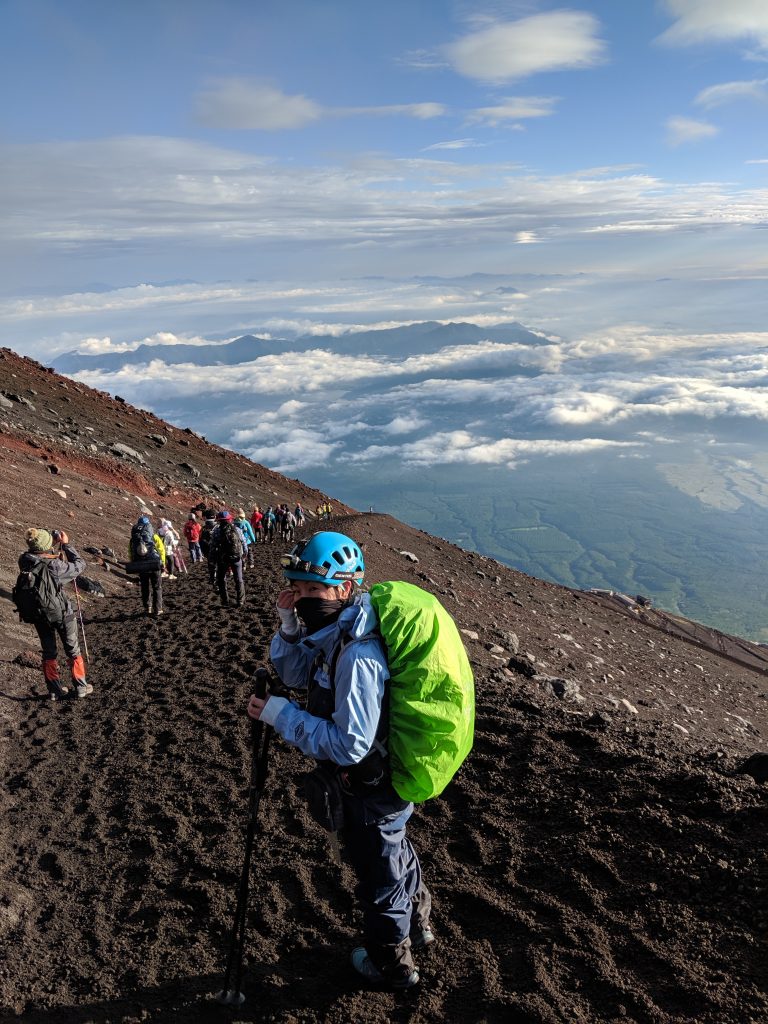
Sara is ready for the Yoshida trail descent. 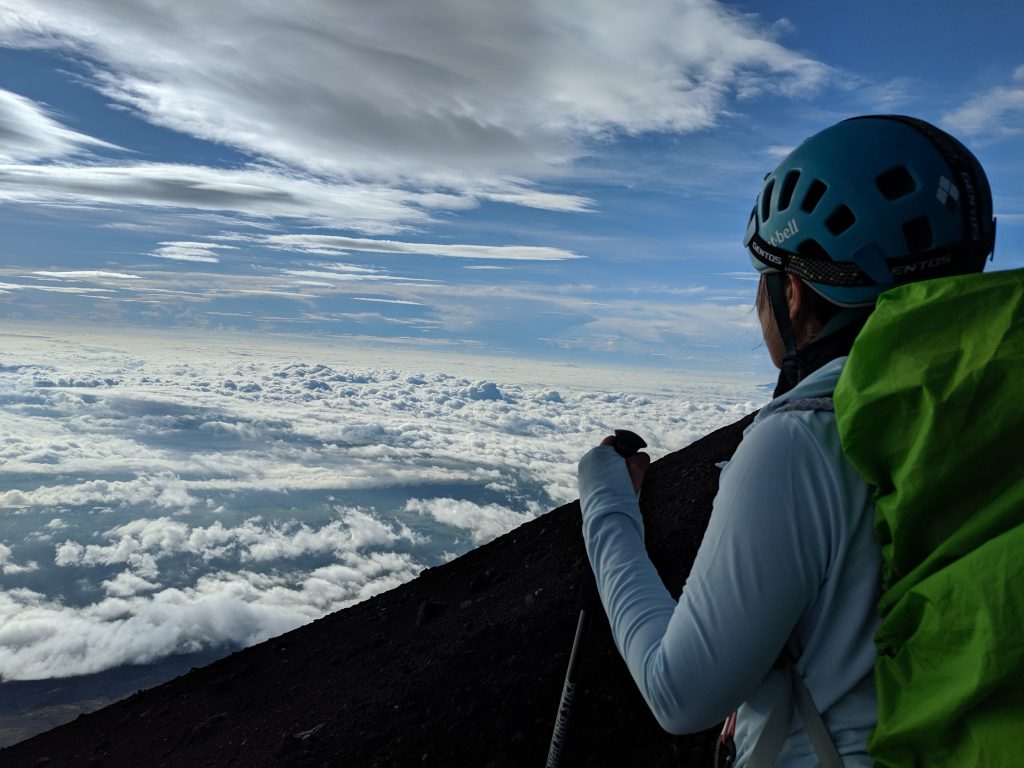
Sara descending the Yoshida trail. A lot of Mount Fuji sits above the clouds. 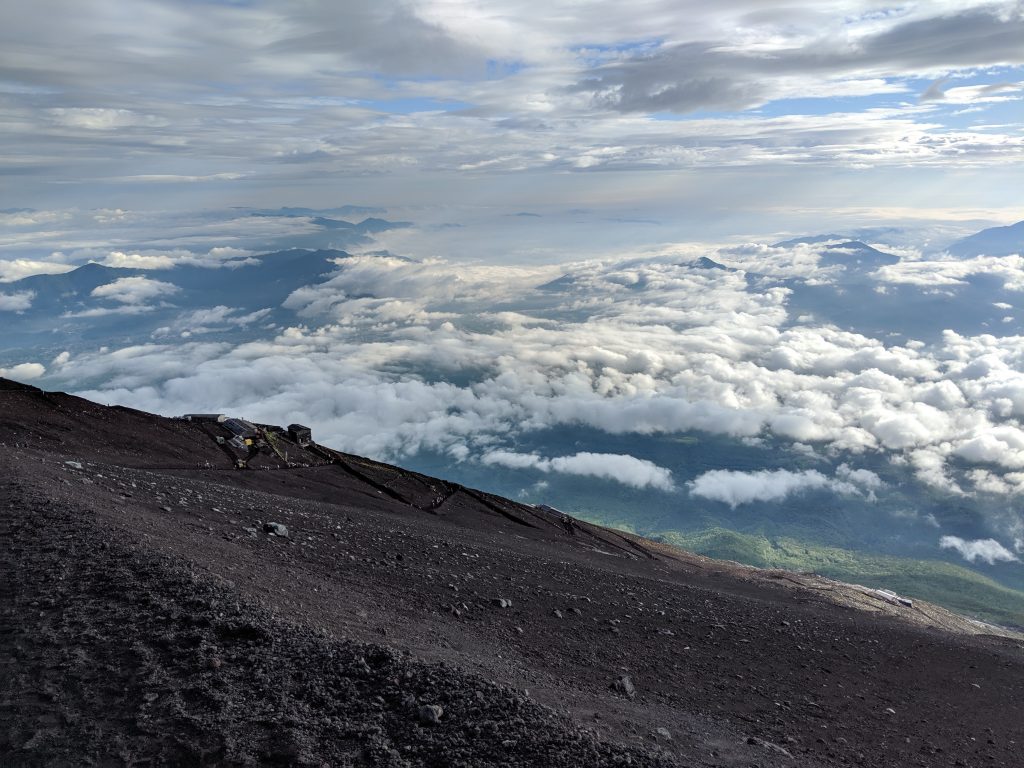
Descending the Yoshida trail is walking through a lot of gravel like this. 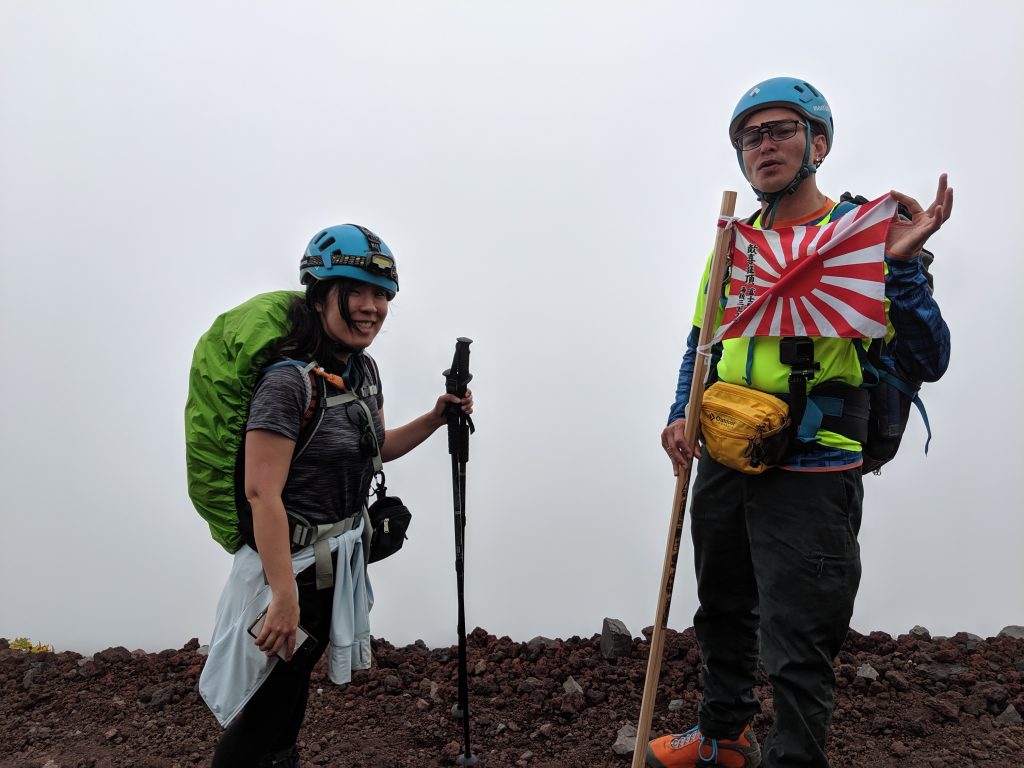
Sara and Corwyn in the clouds! 
Group pic at the finish line! 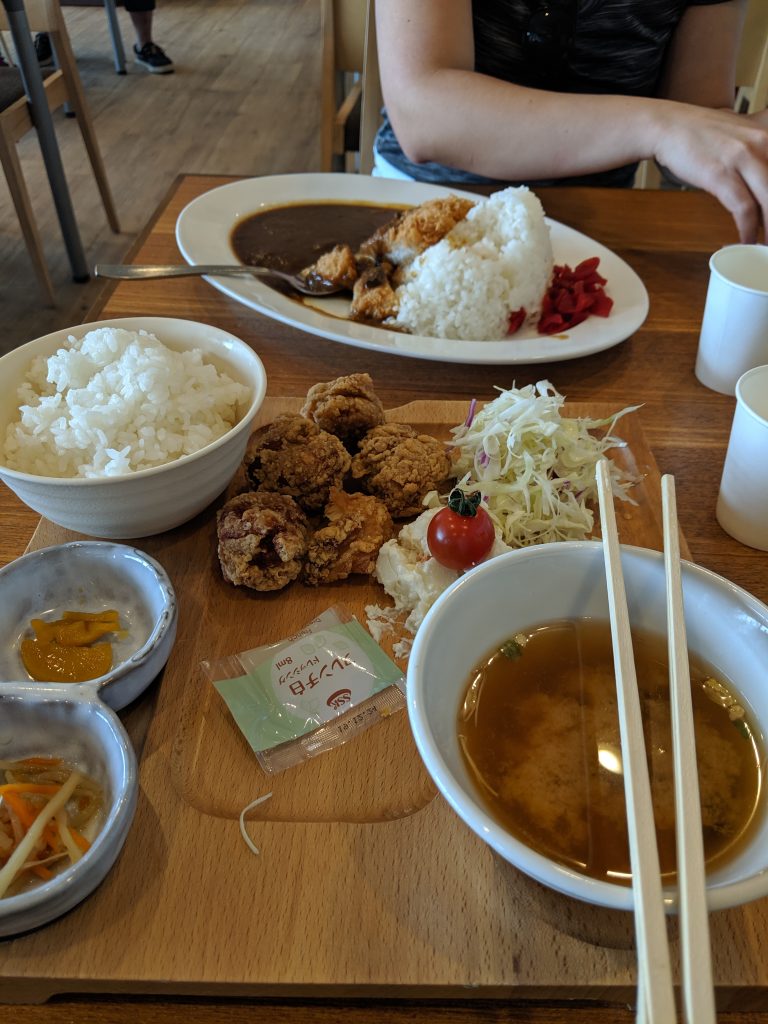
Ryan’s post-hike meal at Fujikyu Unjokaku consisted of karaage chicken. 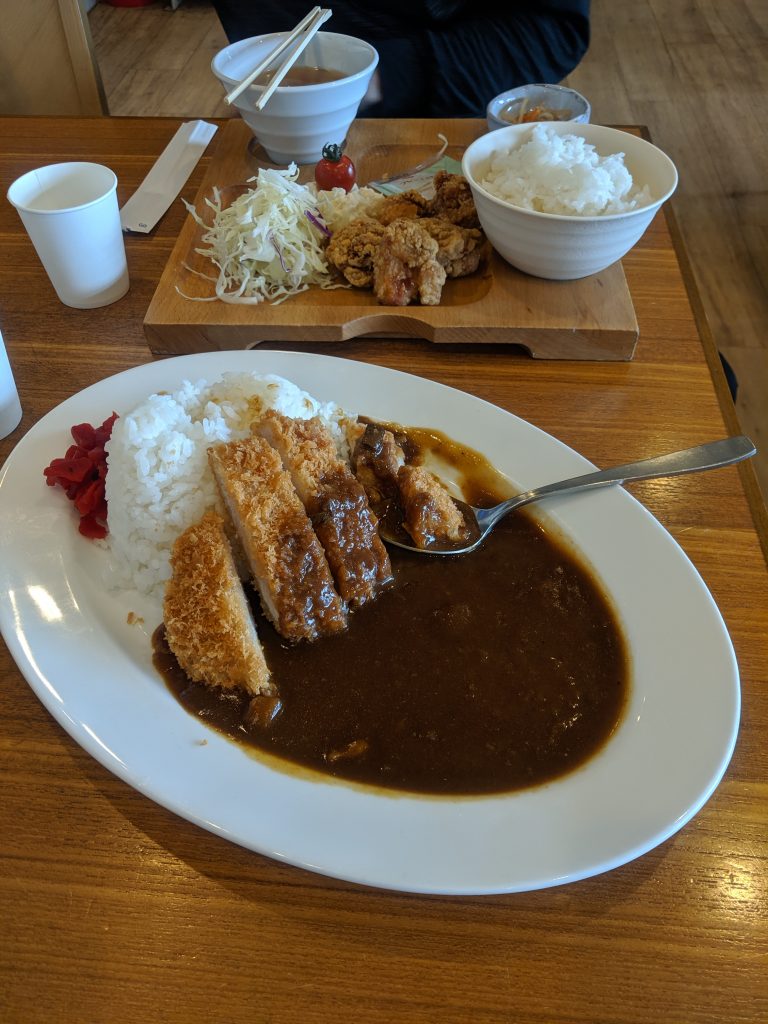
Sara’s post-hike meal at Fujikyu Unjokaku consisted of katsu curry. 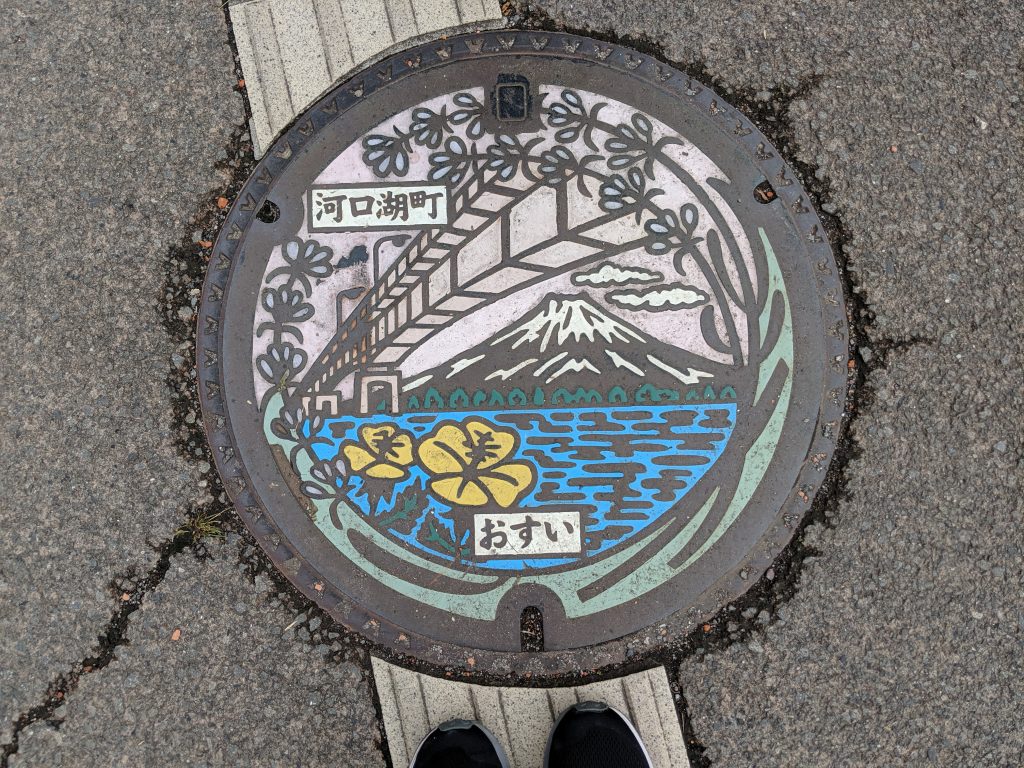
Japan has really cool manhole covers. The ones in Kawaguchiko are beautiful. 綺麗な! 
Don’t forget to try the corn soft serve (soft-cream) outside of the Wind Caves in Kawaguchiko. It’s delish. 
Basashi from Hotou Fudou (名物ほうとう不動) 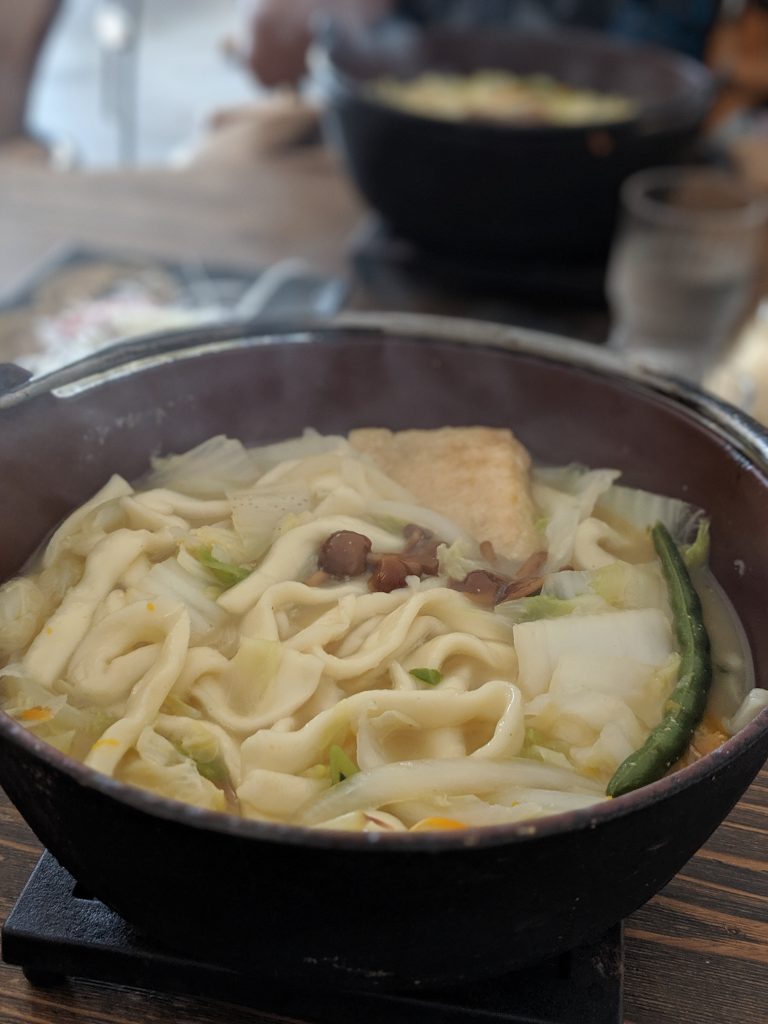
Hotou from Hotou Fudou (名物ほうとう不動) 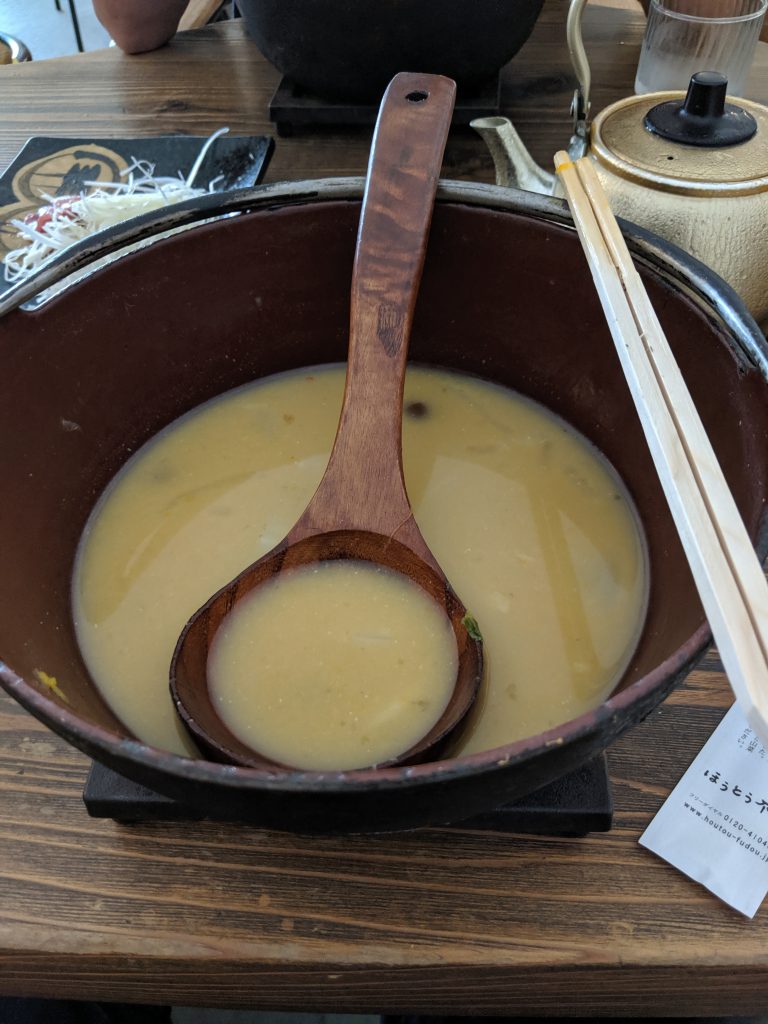
Ryan’s empty bowl at Hotou Fudou (名物ほうとう不動) 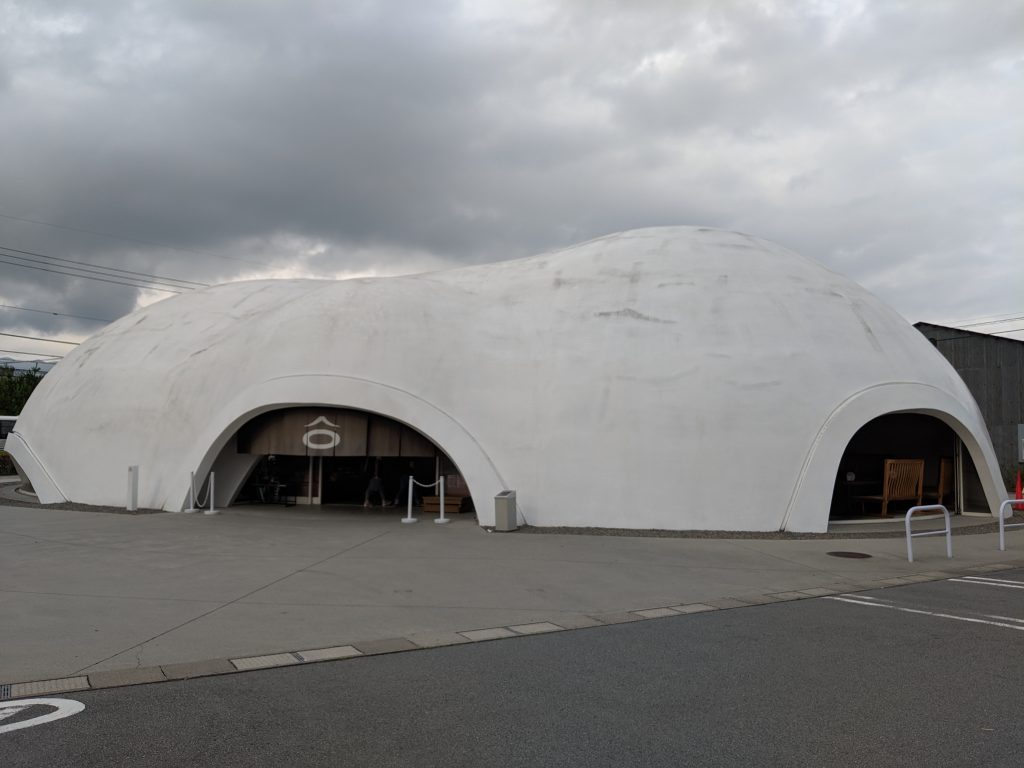
Hotou Fudou (名物ほうとう不動) looks like it belongs in Antarctica or in a post-apocalyptic war movie. 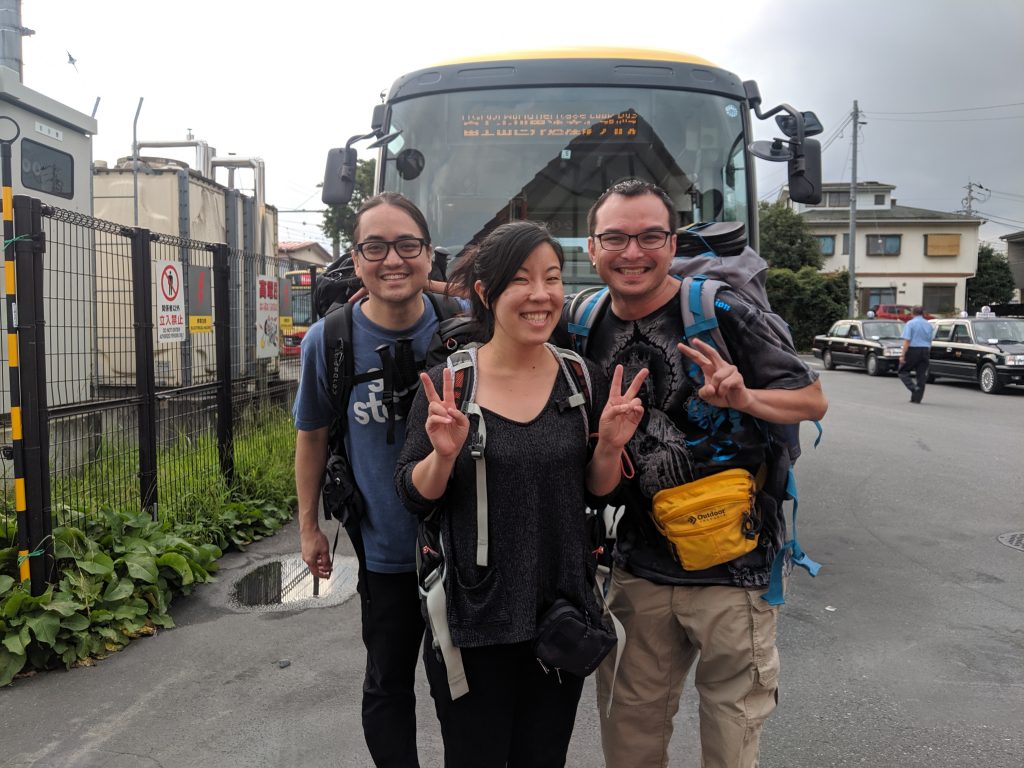
Now that we’ve bullet hiked and seen the sunrise, what other adventures are next?
Links we used to research
A lot of blogs don’t link to the sites they used for research, but since we’re deep divers, here are all the links we used to research hiking Fujisan in order of usefulness.
- http://www.fujisan-climb.jp/en/index.html – The official site for Mt. Fuji climbing. You should start here first. Most of your questions can be answered here including logistics, weather + trail warnings, and high level overviews of the trails.
- https://www.garyjwolff.com/climbing-mt-fuji.html – Gary J Wolff’s site has to be the absolute best English resource on climbing Mount Fuji. My only wish was that it was a bit more organized, but if you spend enough time here, most of your questions will be answered.
- https://yamap.com – This is a Japanese app where you can view other hikers and the routes with photos + estimated timings. At the time I wrote this post, there were ~10,000 posted activities of climbers hiking up Fujisan. Very cool app where you can see timings of other users. The only downside is you don’t know what shape they’re in, but we used this app to get an idea and confirm the times on other blogs.
- Here are links to all the helpful PDFs that you can save to your phone. There’s cell signal and wifi along the trail, so these are pretty useful if you ever forget the game plan.
- Map of the Fuji-Subaru Line 5th station from the Subaru Line website.
- Toilet map of the various trails from the Shizuoka Prefecture website.
- 2019 map of the Yoshida trail from the official Fuji website.
Thanks!
Finally, before we get out of here, we’d like to send a special thanks to Sheldon and Eri for sharing their Fujisan tips with us and answering all our questions. Last, but not least, thanks to Corwyn, Sara’s high school friend, who joined us on this adventure. Life is always more fun when you have more suckers friends involved.