Update: If you’re planning on throwing your own family reunion, make sure to check out:
If you read my last post, you’d know that Sara and I were fortunate enough to have been included in the planning stages of a family reunion. And… if you know me, you’d know that this has something I’d been secretly wanting to do for a number of years. In this blog, you’ll be able to download the tools and design assets we used during our family reunion.
I can’t really put my finger on why I’ve been so fascinated with learning about my family history, but as I’ve gotten older, I’ve cared less about lives being led on Instagram and more about my family’s history in Hawaii.
To gauge success, I viewed the most important outcome of the reunion as the following:
Family members should interact and meet one another – no matter their lineage. This was most important. If this happened at some level, even if none of the other outcomes occurred, we would have had a successful reunion.
To accomplish this, we focused on three specific facets of the event:
- Seating
- Interactions
- Collaboration
*Note: We’re making all the tools and assets we used in planning this event available in this blog post. Unfortunately, to use them, you’ll need a bit of an Excel background and someone with Adobe InDesign experience. If you’re planning your next reunion and want a custom design for some of these assets, I hear that for a small fee, Sara might be able to help you out. 😀
Tools: Seating
I know how most local family parties end up, and I really wanted to encourage people to meet different members of the family. To help solve the issue of familiarity, we arranged the seating chart so that families would not sit next to their immediate family, but keeping at least one parent and child together as well as spouses if their children were grown adults.
If we made people feel uncomfortable, then I knew we were headed in the right direction.
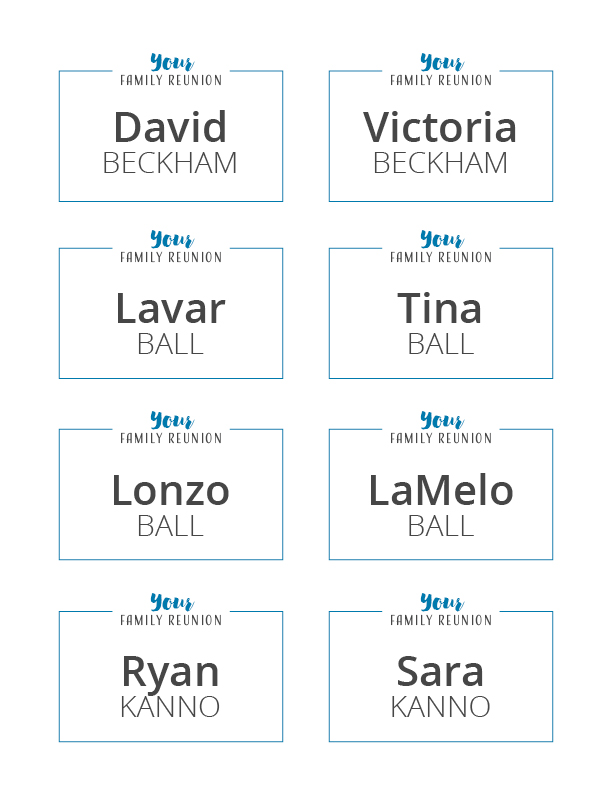
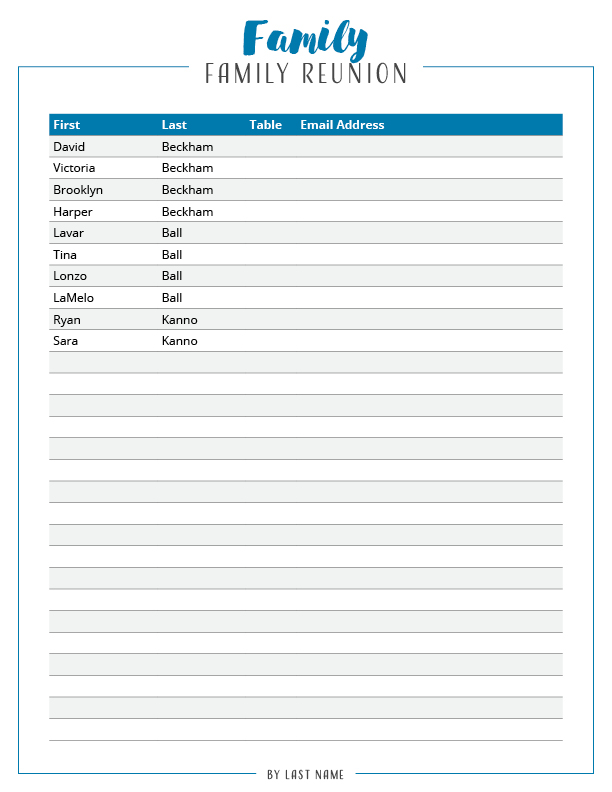
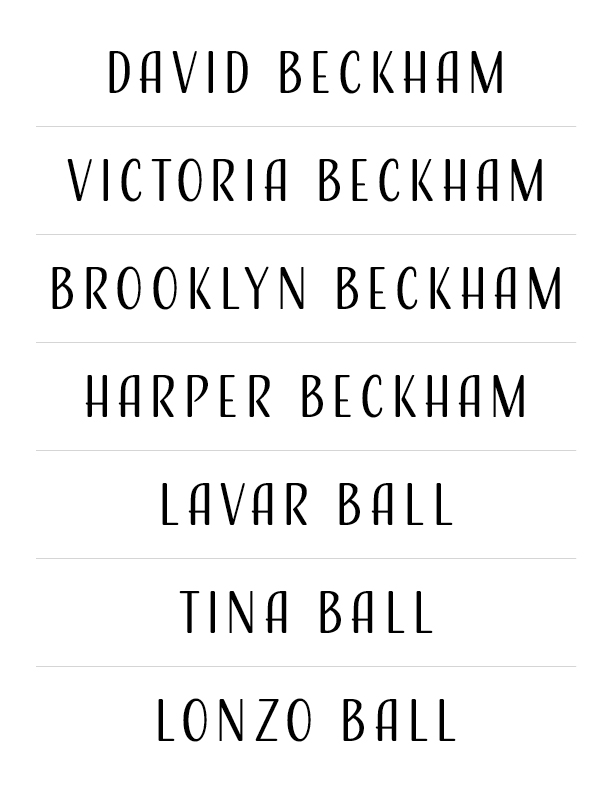
If you’ve ever tried to seat a large group, it’s fairly painful without the use of technology, so I made a quick spreadsheet on Google Docs to dynamically show available seats as the seating chart is filled out. (I knew my finance background would be of use someday!) Feel free to customize it to your own liking as I’ve filled it with a bunch of random celebrities. In addition, since there were a ton of people who had never met, we also made name tags for everyone – you’ll find the InDesign templates available at the end of this blog post.
Note: The seating chart is titled “Guest List / Seating Chart“. If you notice, I have the floor plan of the event space where I’ve numbered each seat at a table. We didn’t need this level of granularity to actually seat people, but it really helps to visualize who is sitting where. After you’ve seated everyone, the “Sign-In Sheet” tab dynamically pulls from the seating chart. You’ll want to sort this sheet by “Last Name” (since families arrive together) and print out the result (or copy it to an InDesign template like we did) to use at the sign-in desk.
Tools: Interactions
Once everyone has been seated in an uncomfortable spot, we needed people to interact with one another. I’m generally not a fan of forced interactions, but we decided to include two items on the table that would help “kickstart” the conversation.
Conversation Starter

The first tool we employed is commonly known as an “ice-breaker”. Each conversation starter would be placed at everyone’s seat and have two sections. In the first section, you have to say how you’re related to either my grandmother or one of her sisters.
When thinking about familial relationships (especially when dealing with 2nd / 3rd cousins), it’s always good to have people form a visual baseline of where you are in the family tree.
The second section of the conversation starter would contain questions to ask the table to help keep the flow of the conversation going. Since I’ve been fascinated with recording my own family history, I had a database of almost a thousand questions to pull from. Examples of these questions include:
- If you could live anywhere in the world, where would it be and why?
- Who is one person here you’d like to learn more about?
- What was something you got away with as a child that your family still doesn’t know about?
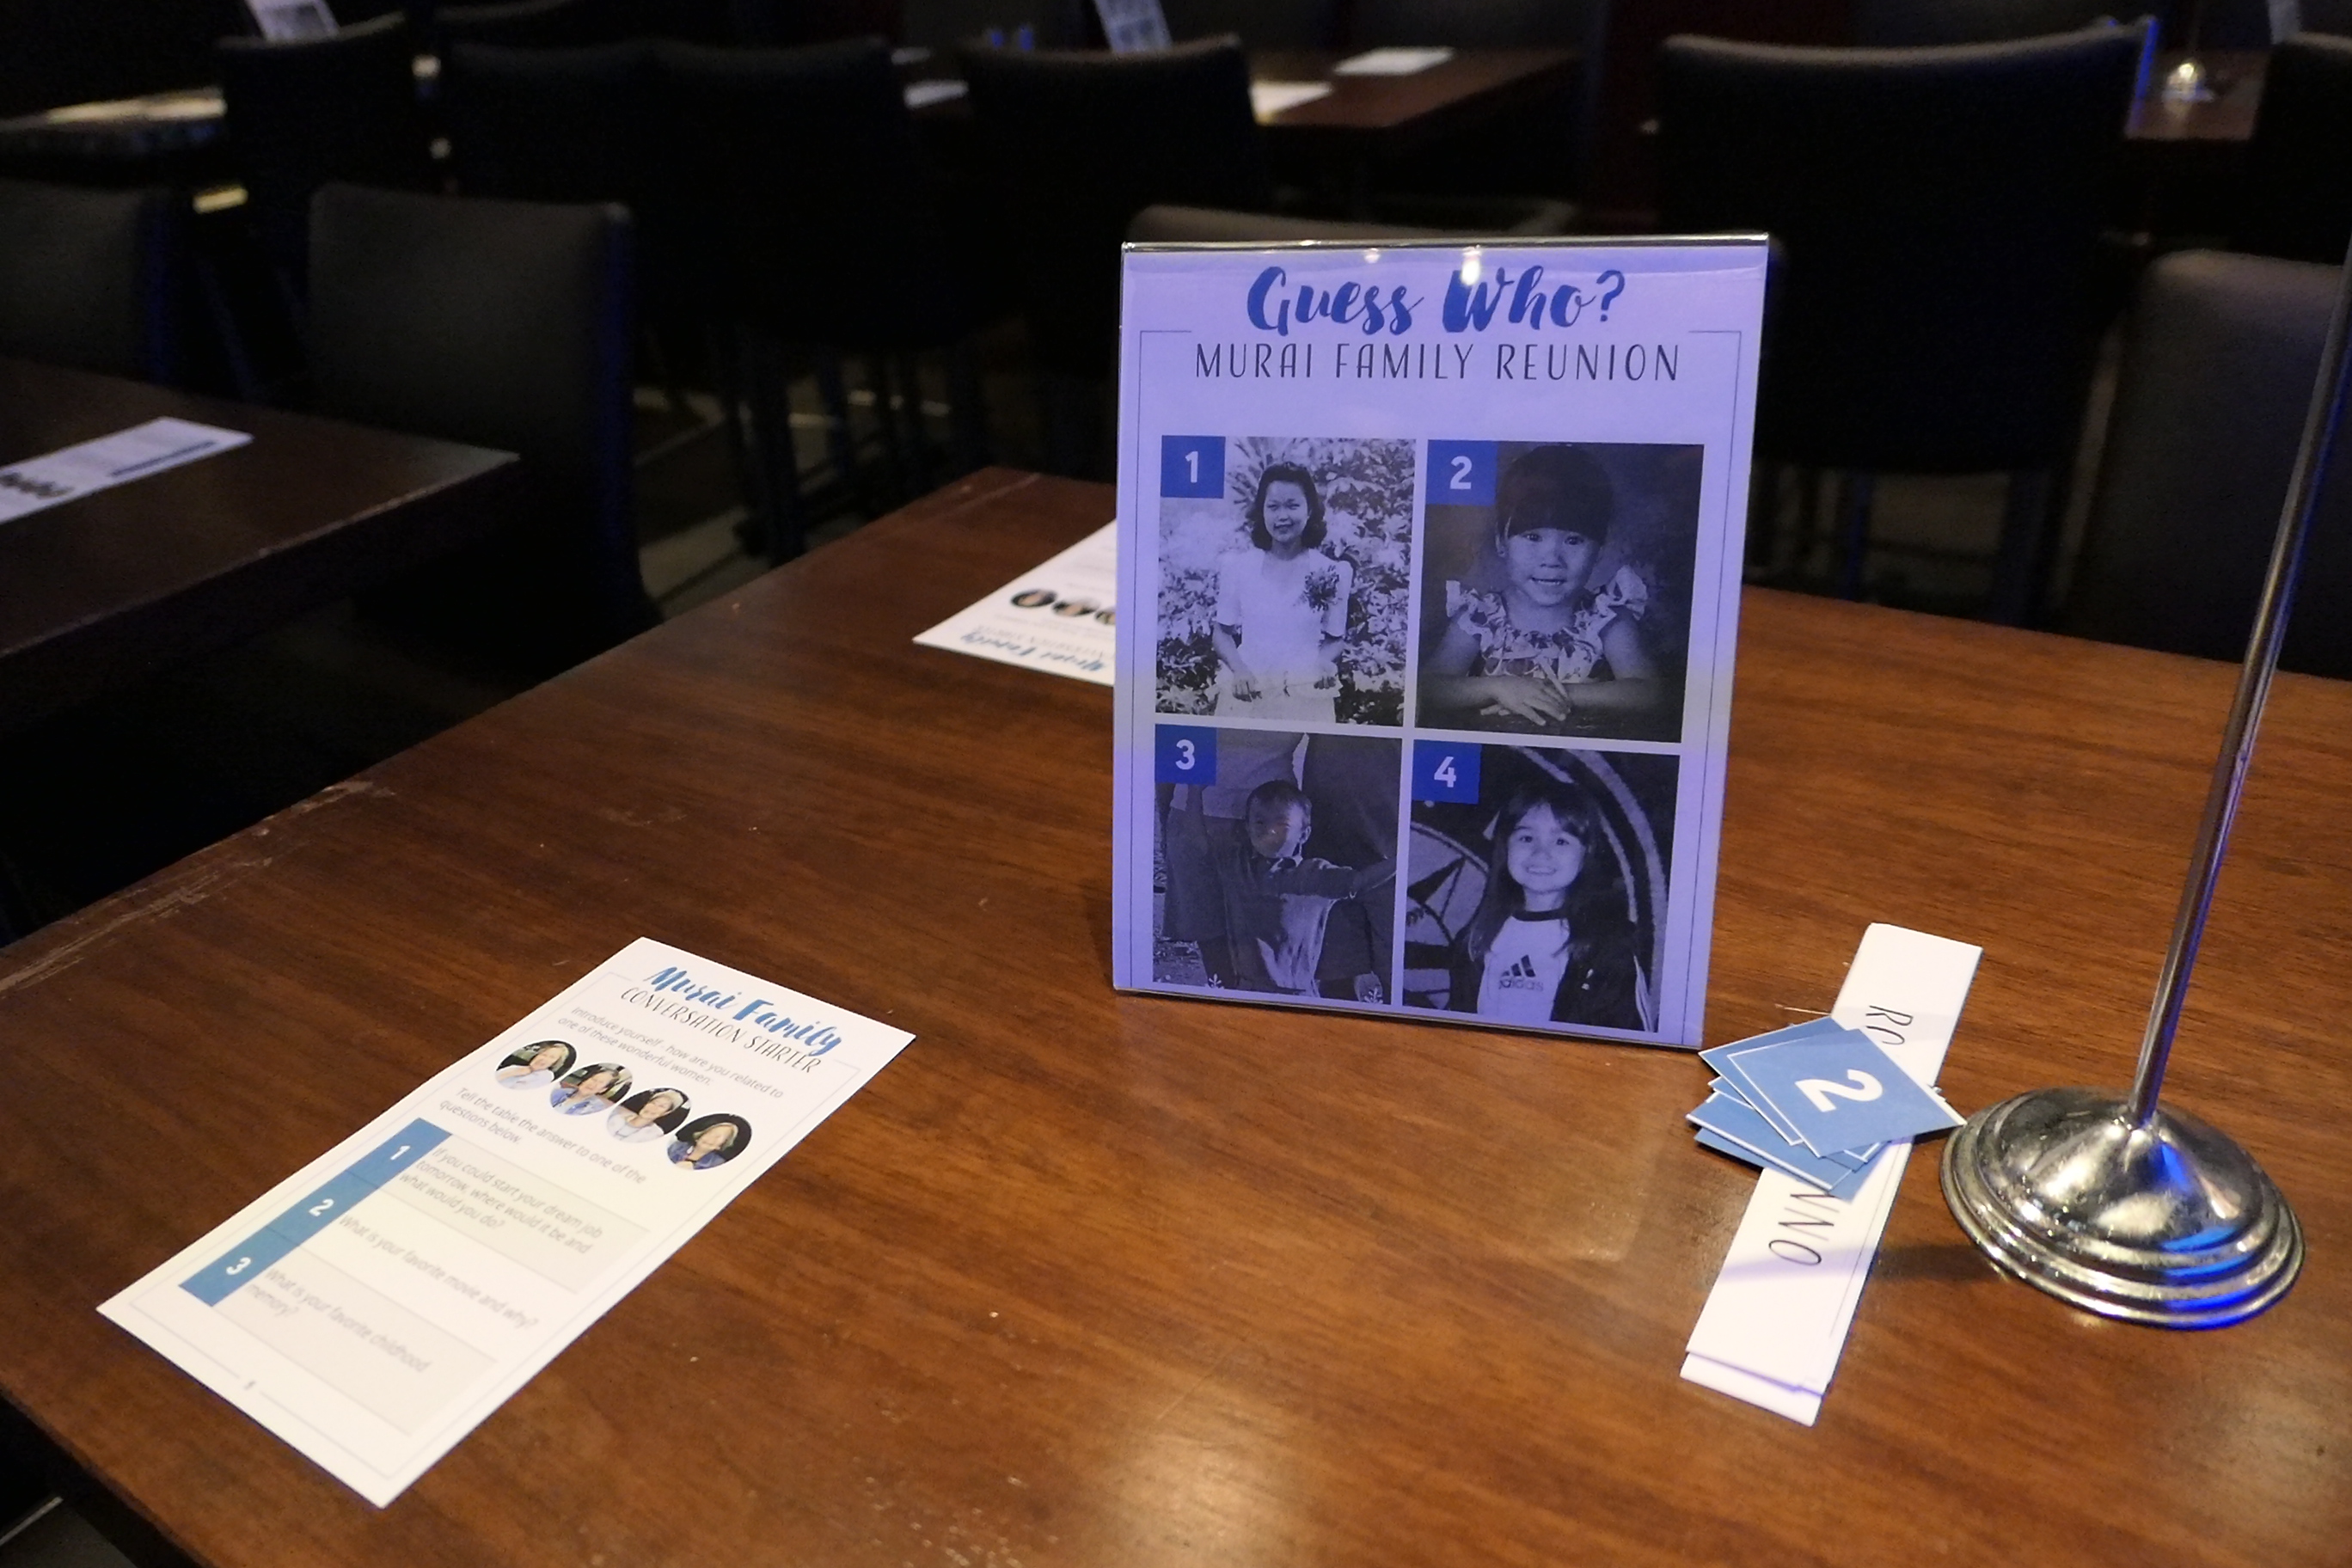
Guess Who?

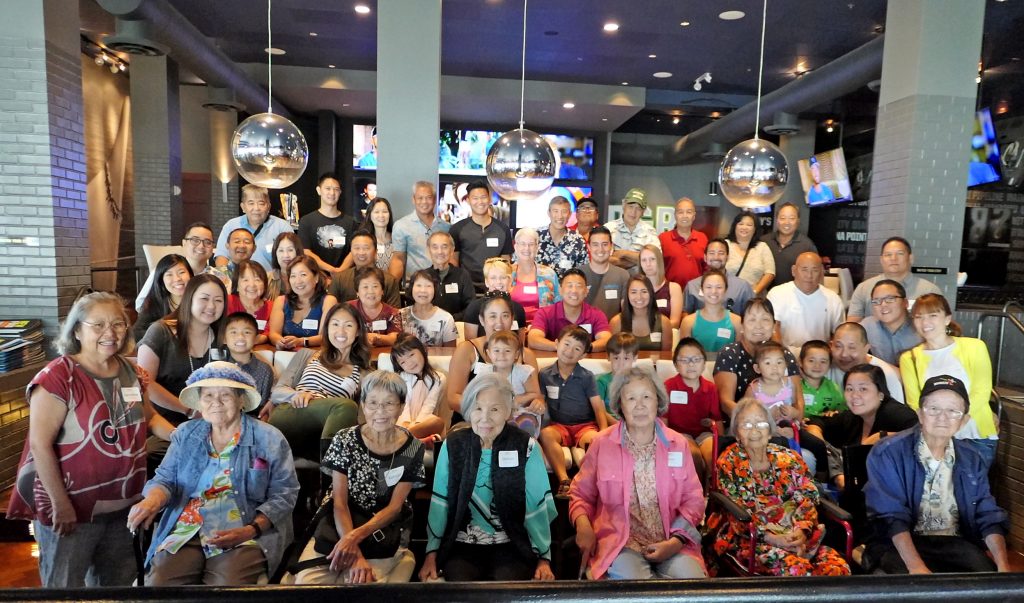
The second item would be a “Guess Who” game that would be situated as the centerpiece of every table. Once everyone stated where they were in the family, we had pictures of 8 people numbered one through eight. On the table, we had cutouts of those numbers, along with the names of the eight people in the photos and a few extra members of the family to increase difficulty. The idea was for the table to interact (and collaborate) with one another to match the photo to the person. During the reunion, I announced the answers and let the winning table know they would receive a physical copy of the group photo we’d take later in the day.
Tools: Collaboration

Since we focused on micro-interactions occurring on the table, I wanted to ensure that the room had something larger to collaborate on at the macro level. Sara and I paid for a subscription to Ancestry.com via a Black Friday deal, and we’ve both spent countless hours attempting to fill in our family’s history. I met with my Aunty Gerry on a Saturday to complete a large chunk of my grandmother’s tree, but we were still missing quite a bit of people / details. The original idea was to show the family tree on a projector, then have people come up and fix the tree on the laptop, but we didn’t think that interaction would go well because of the inherent technology barriers (re: people crowding around a single laptop, using Ancestry’s user-interface, etc).
Instead, Sara painstakingly transcribed the tree from Ancestry.com (which doesn’t have great export options) over to Adobe InDesign where we could then print out a large 8 foot banner of the tree (which costs ~50 dollars). We then had post-it notes for people to fill in corrections. Here’s the before and after of the tree.
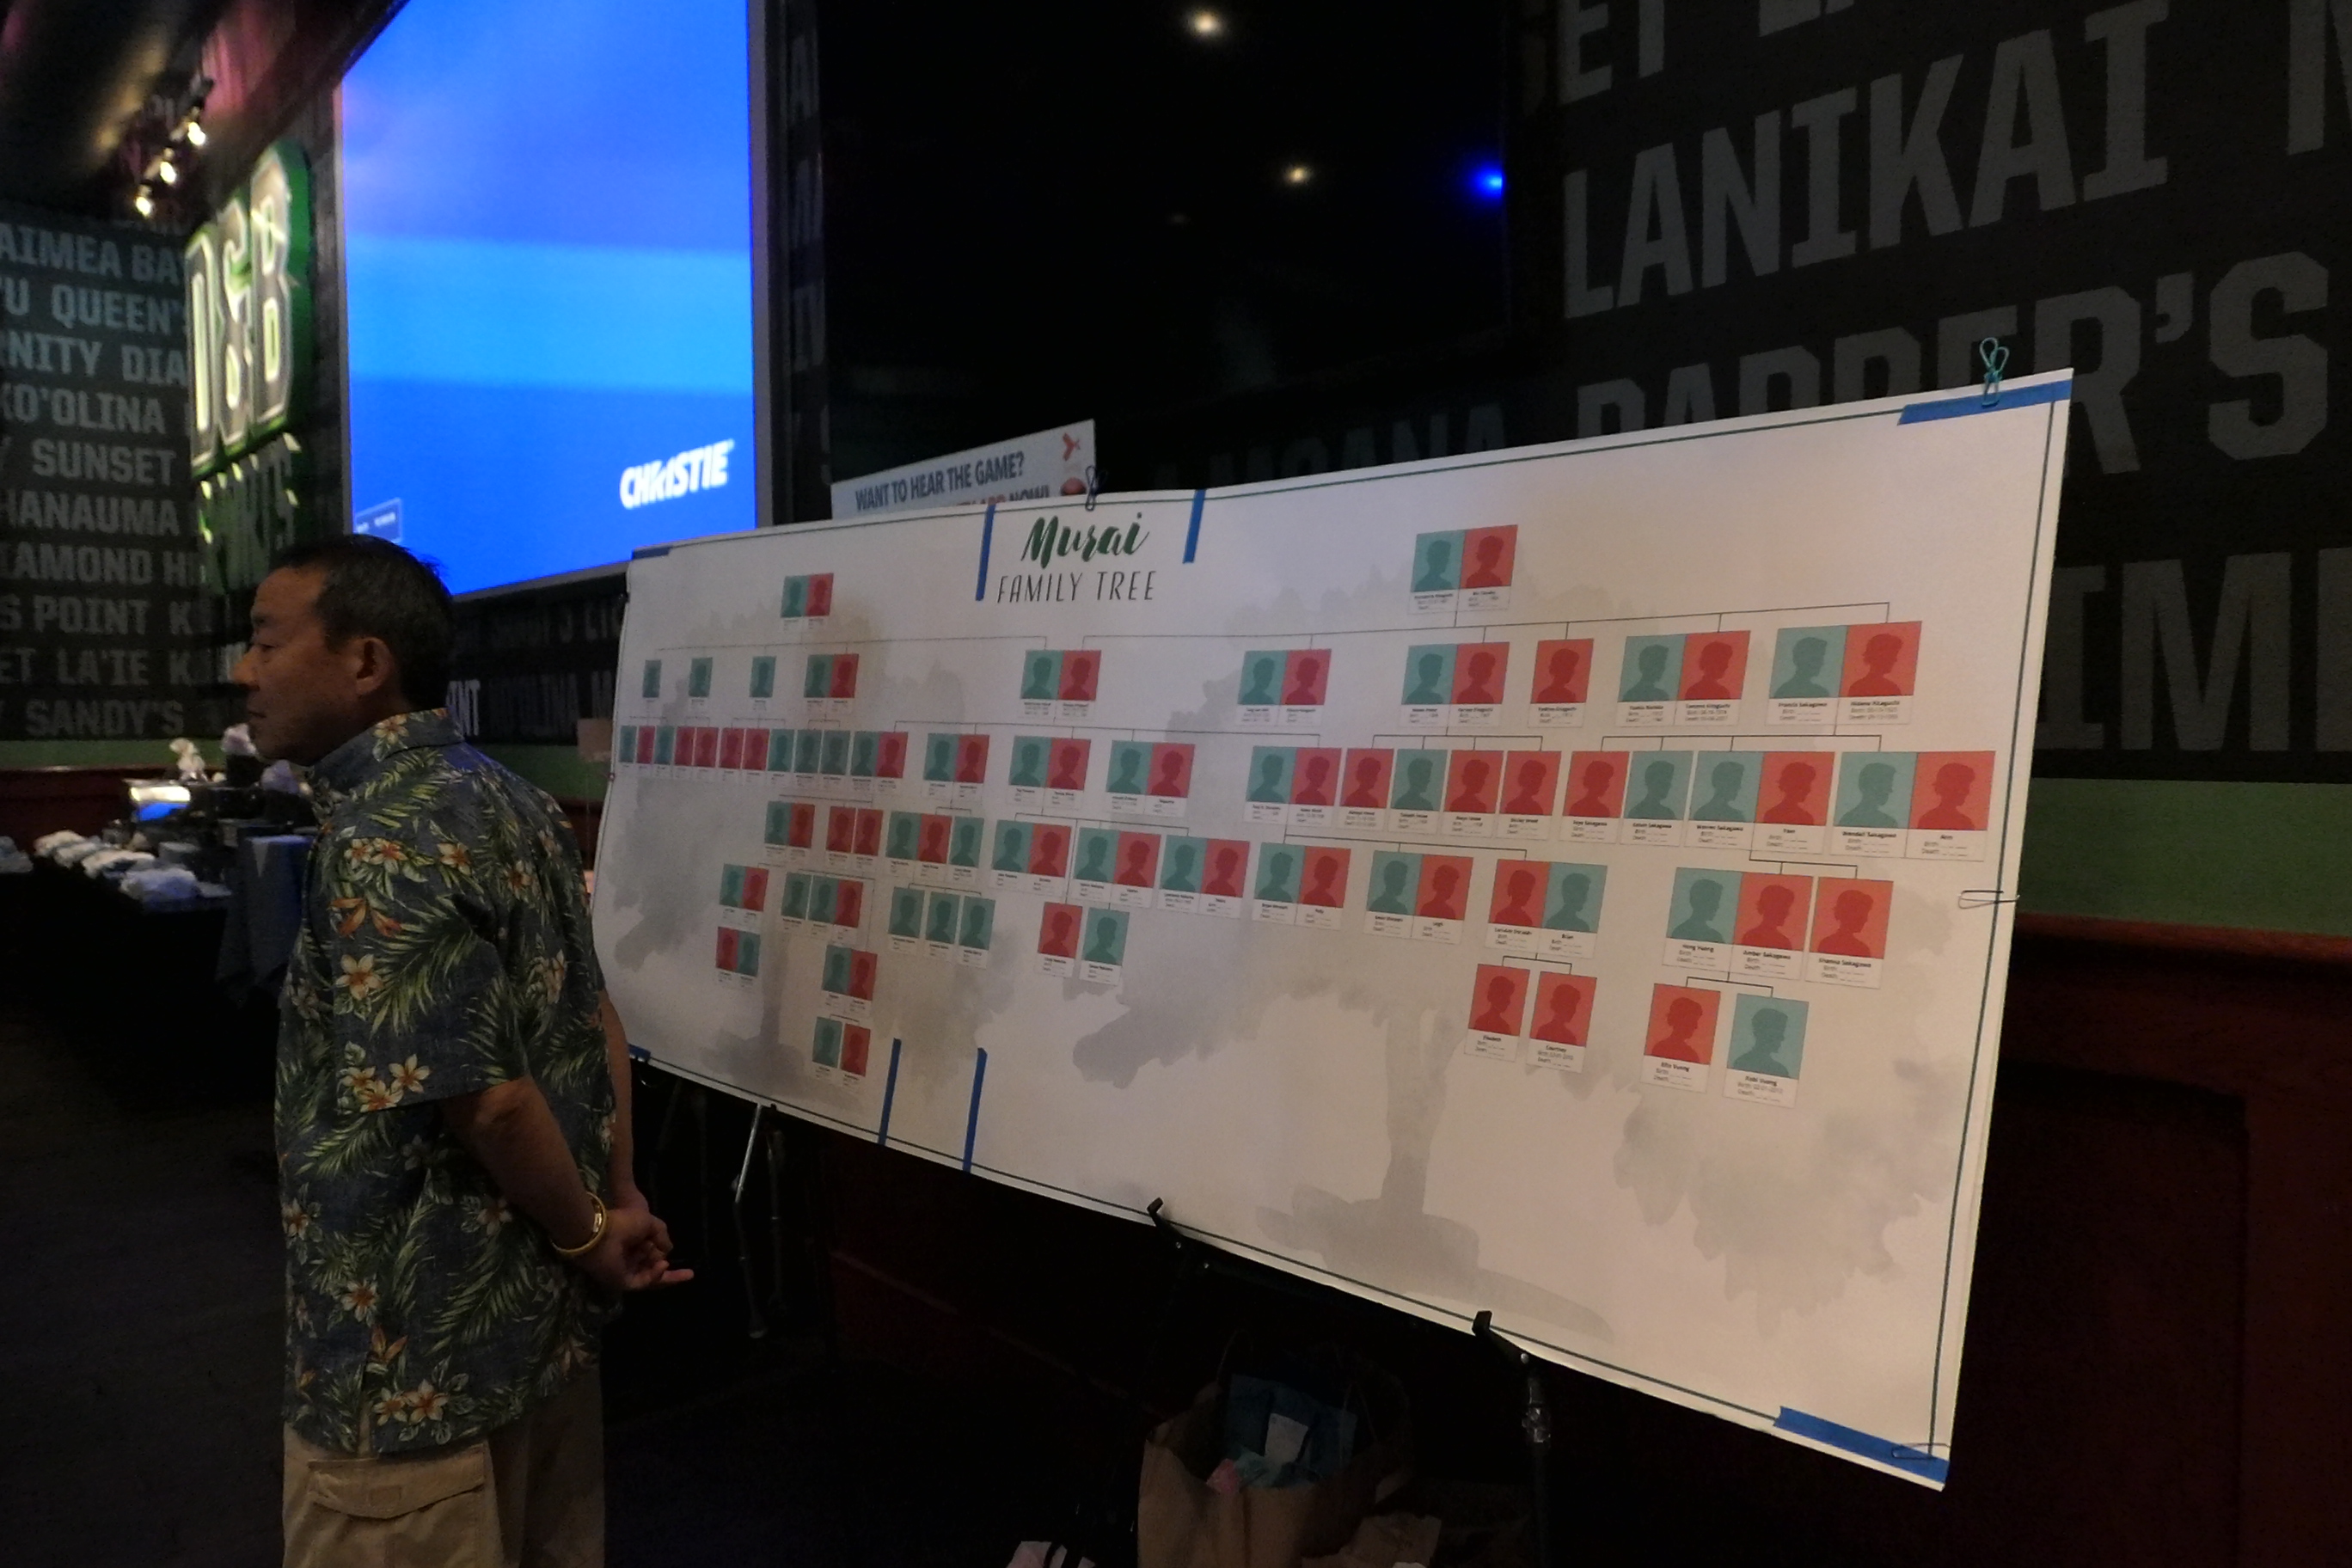
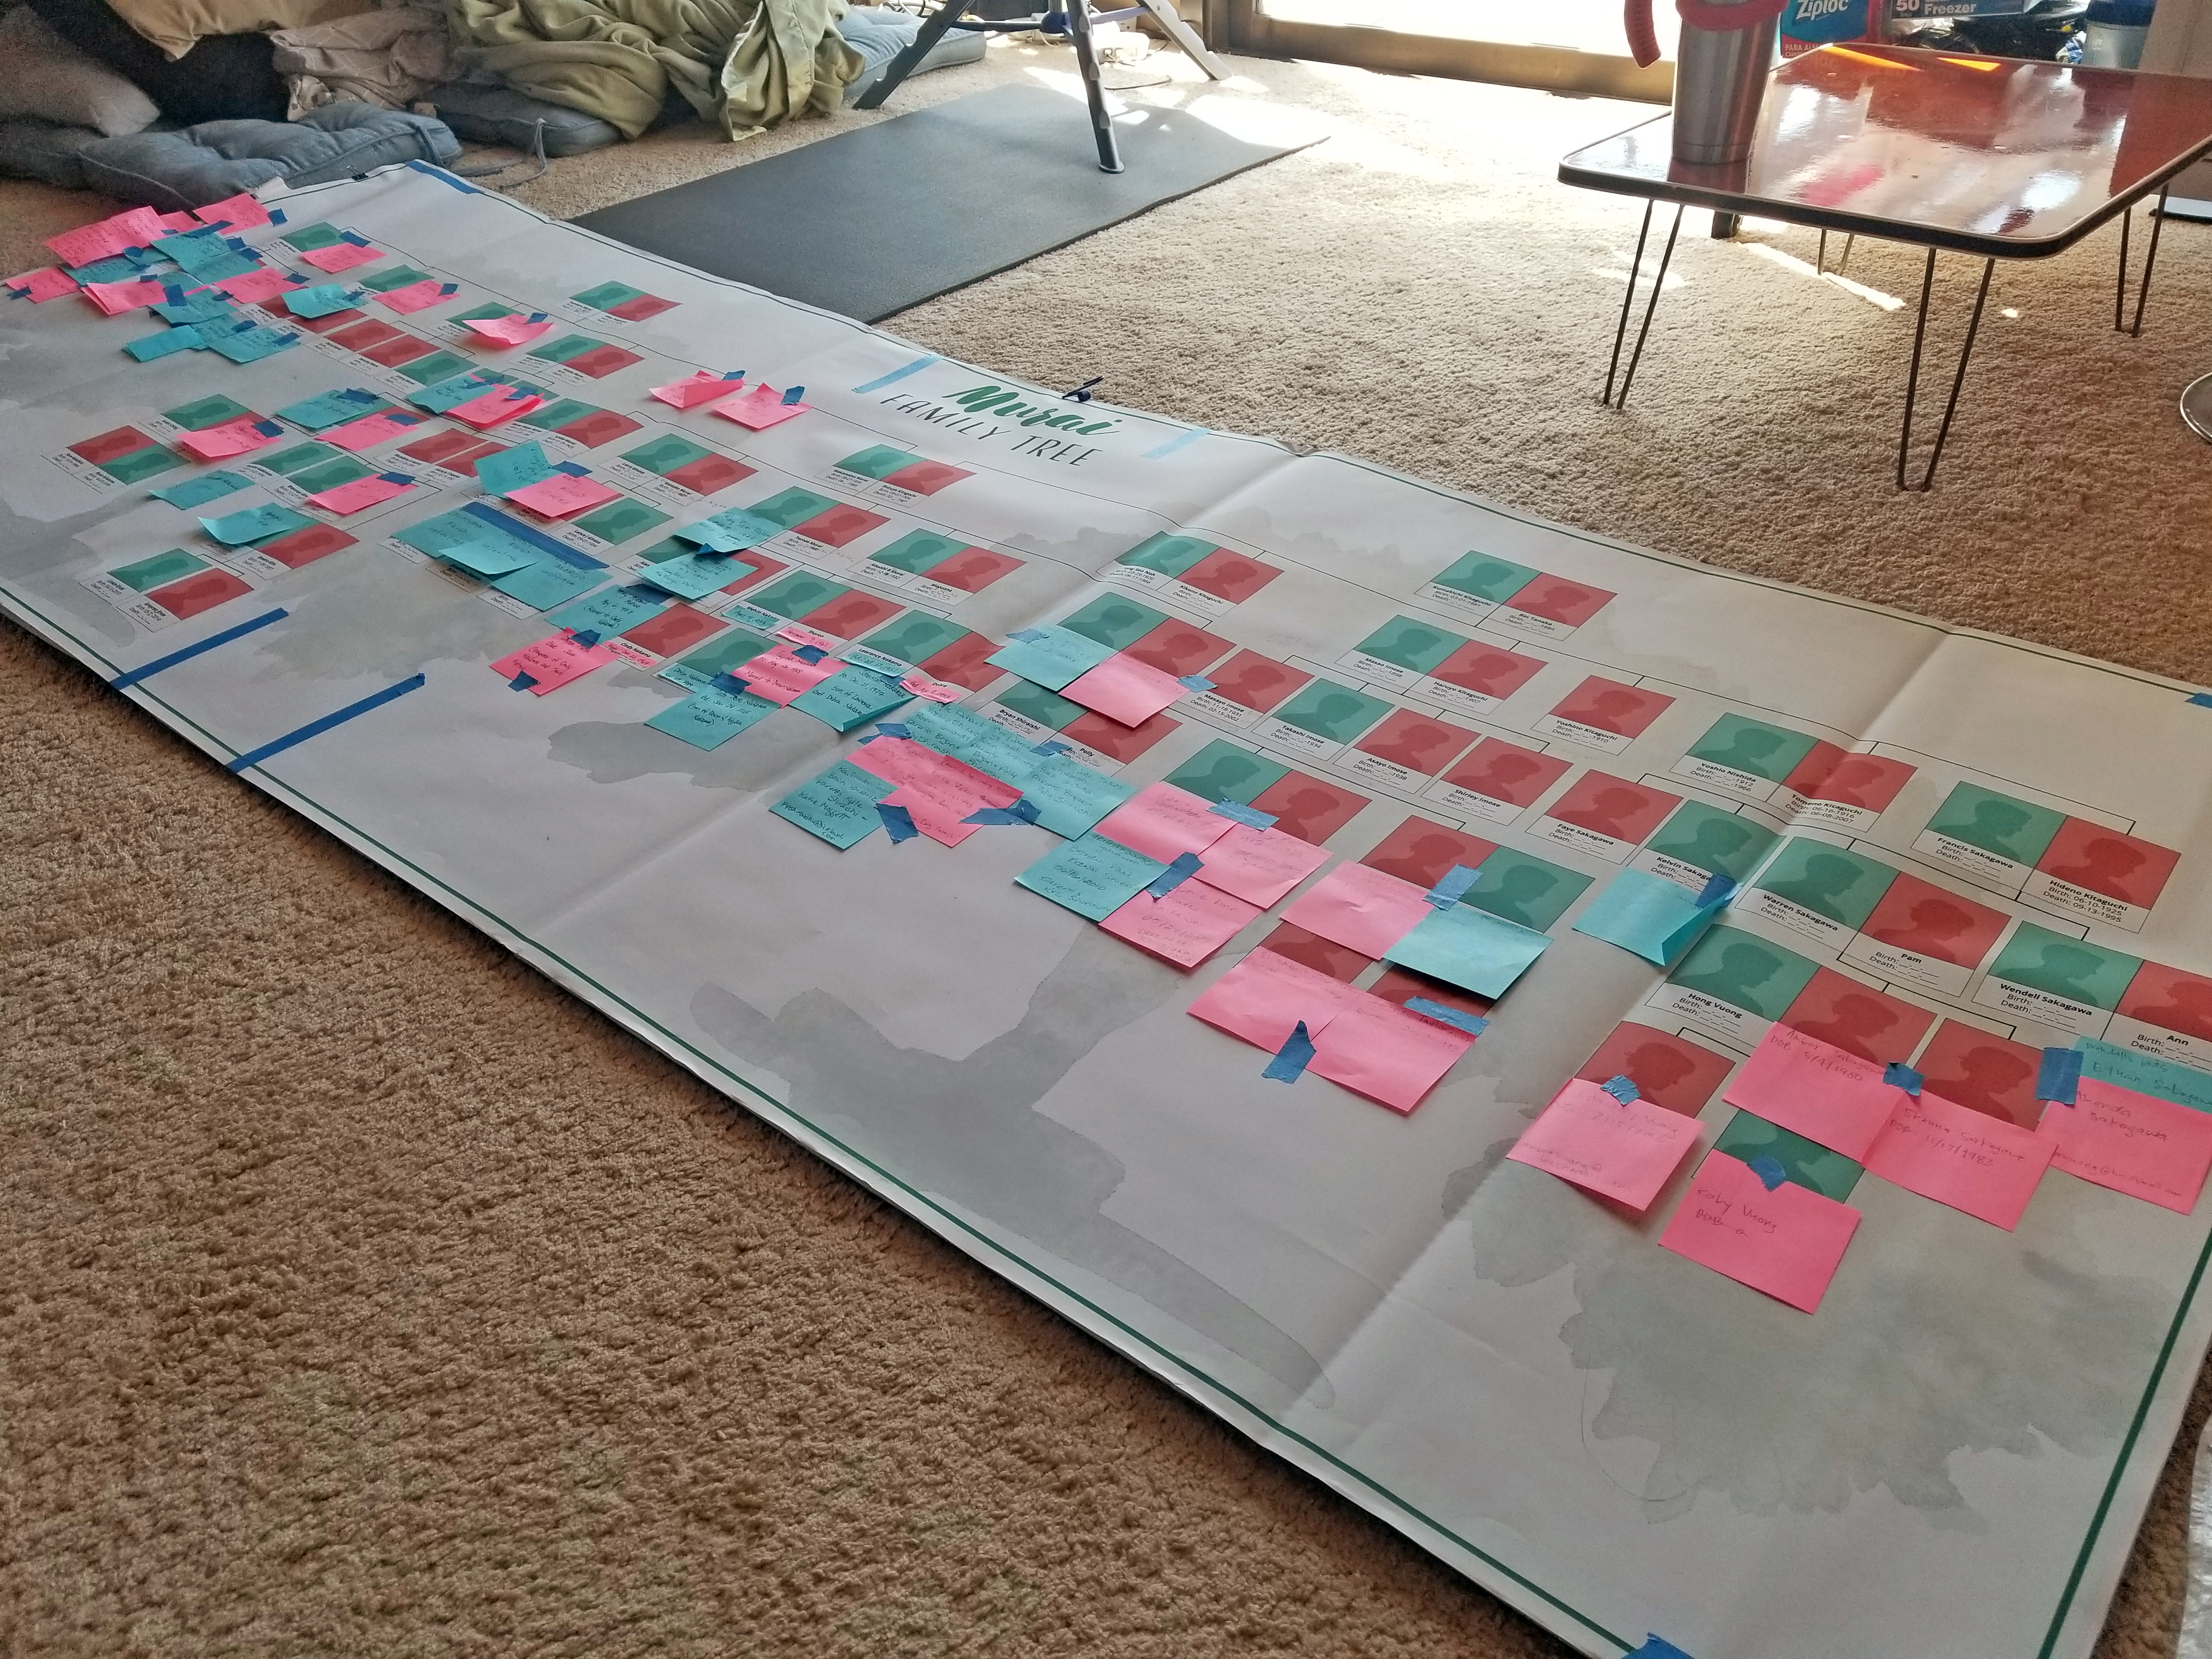
As you can see, I think out of all the interactive ideas we had, this was definitely the best one. There were so many family members who came up to fix the tree and add more detailed information! The display became a focal point of the event – where people could get out of their seat (woohoo!), make their corrections, and ultimately talk to other people in the family.
*Note: One tool we used was colored post-its to represent gender to make it easier when we placed the corrections back into Ancestry.com
Tools and assets
So to sum it up, here are the tools and design assets that we’ve made available to help you plan your next reunion!
- Google Sheet for Seating Arrangement
- Google Sheet for Sign-in Sheet
- “Conversation Starter” Adobe InDesign file
- Adobe InDesign file for Name Tags
- Adobe InDesign file for the “Guess Who” Game
- Adobe InDesign file for Sign-in Sheet
- Adobe InDesign file for Family Tree
- Since you can’t embed fonts in an InDesign template, here is the document with links to download the free fonts.
Whew.
I know it looks like a lot of work, but it’s definitely worth the effort!
Stay-tuned for my next blog post where I share my thoughts about the reunion and everything that we could improve on for the next one!
Make sure to continue reading:
- Part 3 – Find out what we would improve on if we could “do it all over again”

4 Comments
Just awesome post. Enjoyed reading it and all the best for the reunion !!